Clocking In and Out
Track time with timers, manual entries, and more.

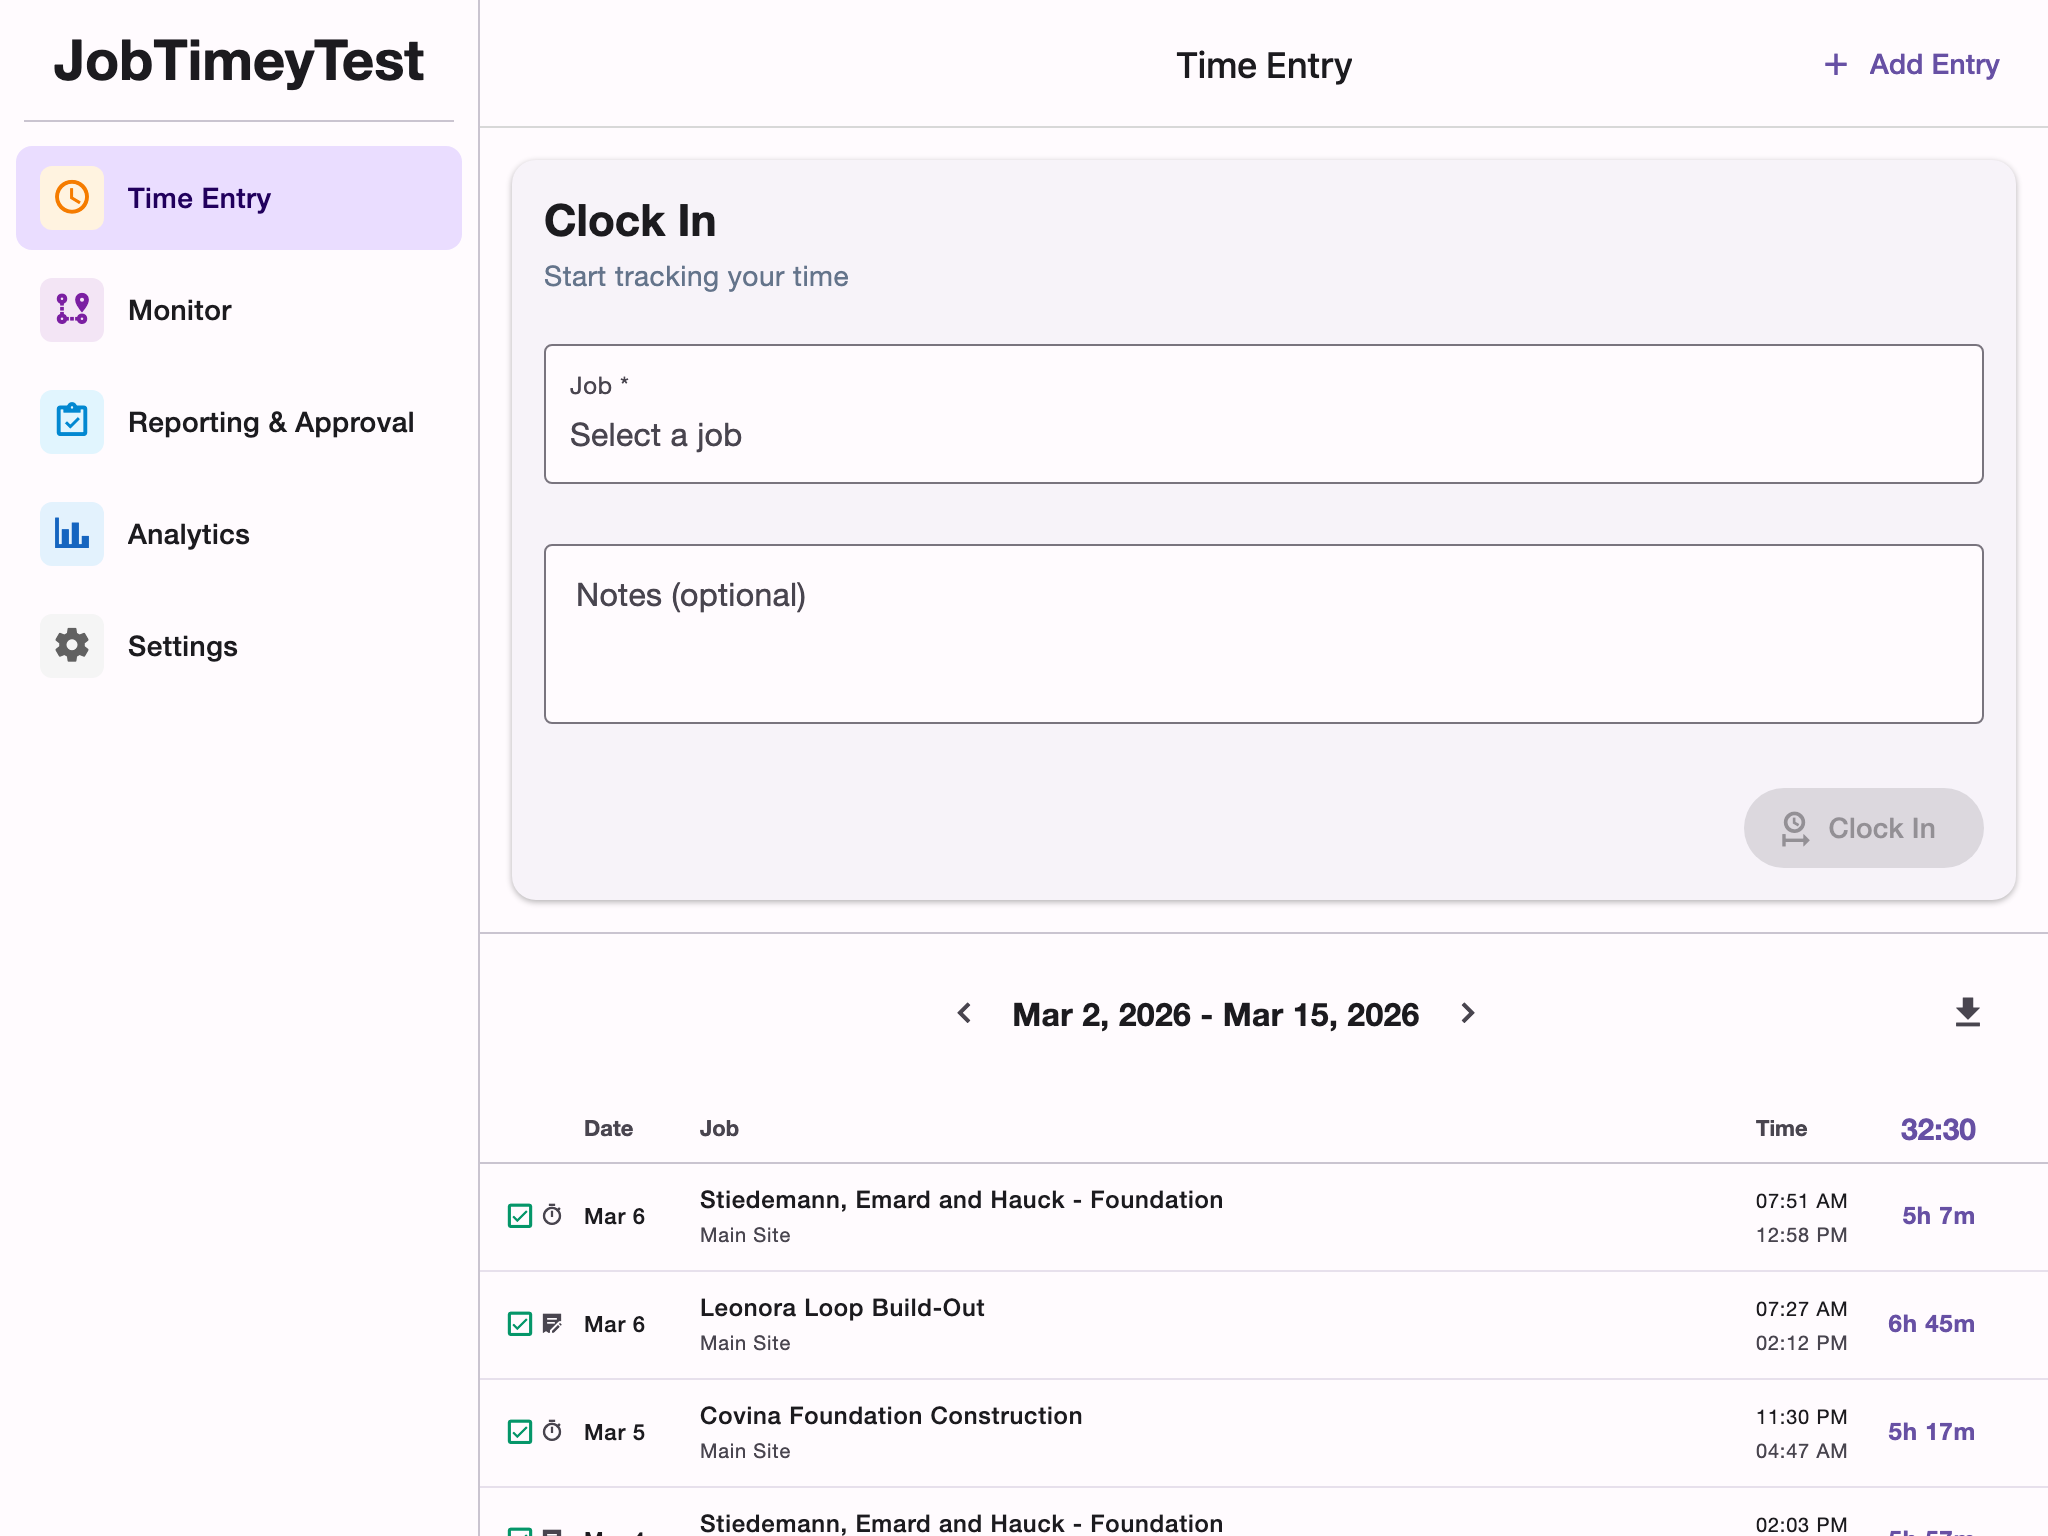
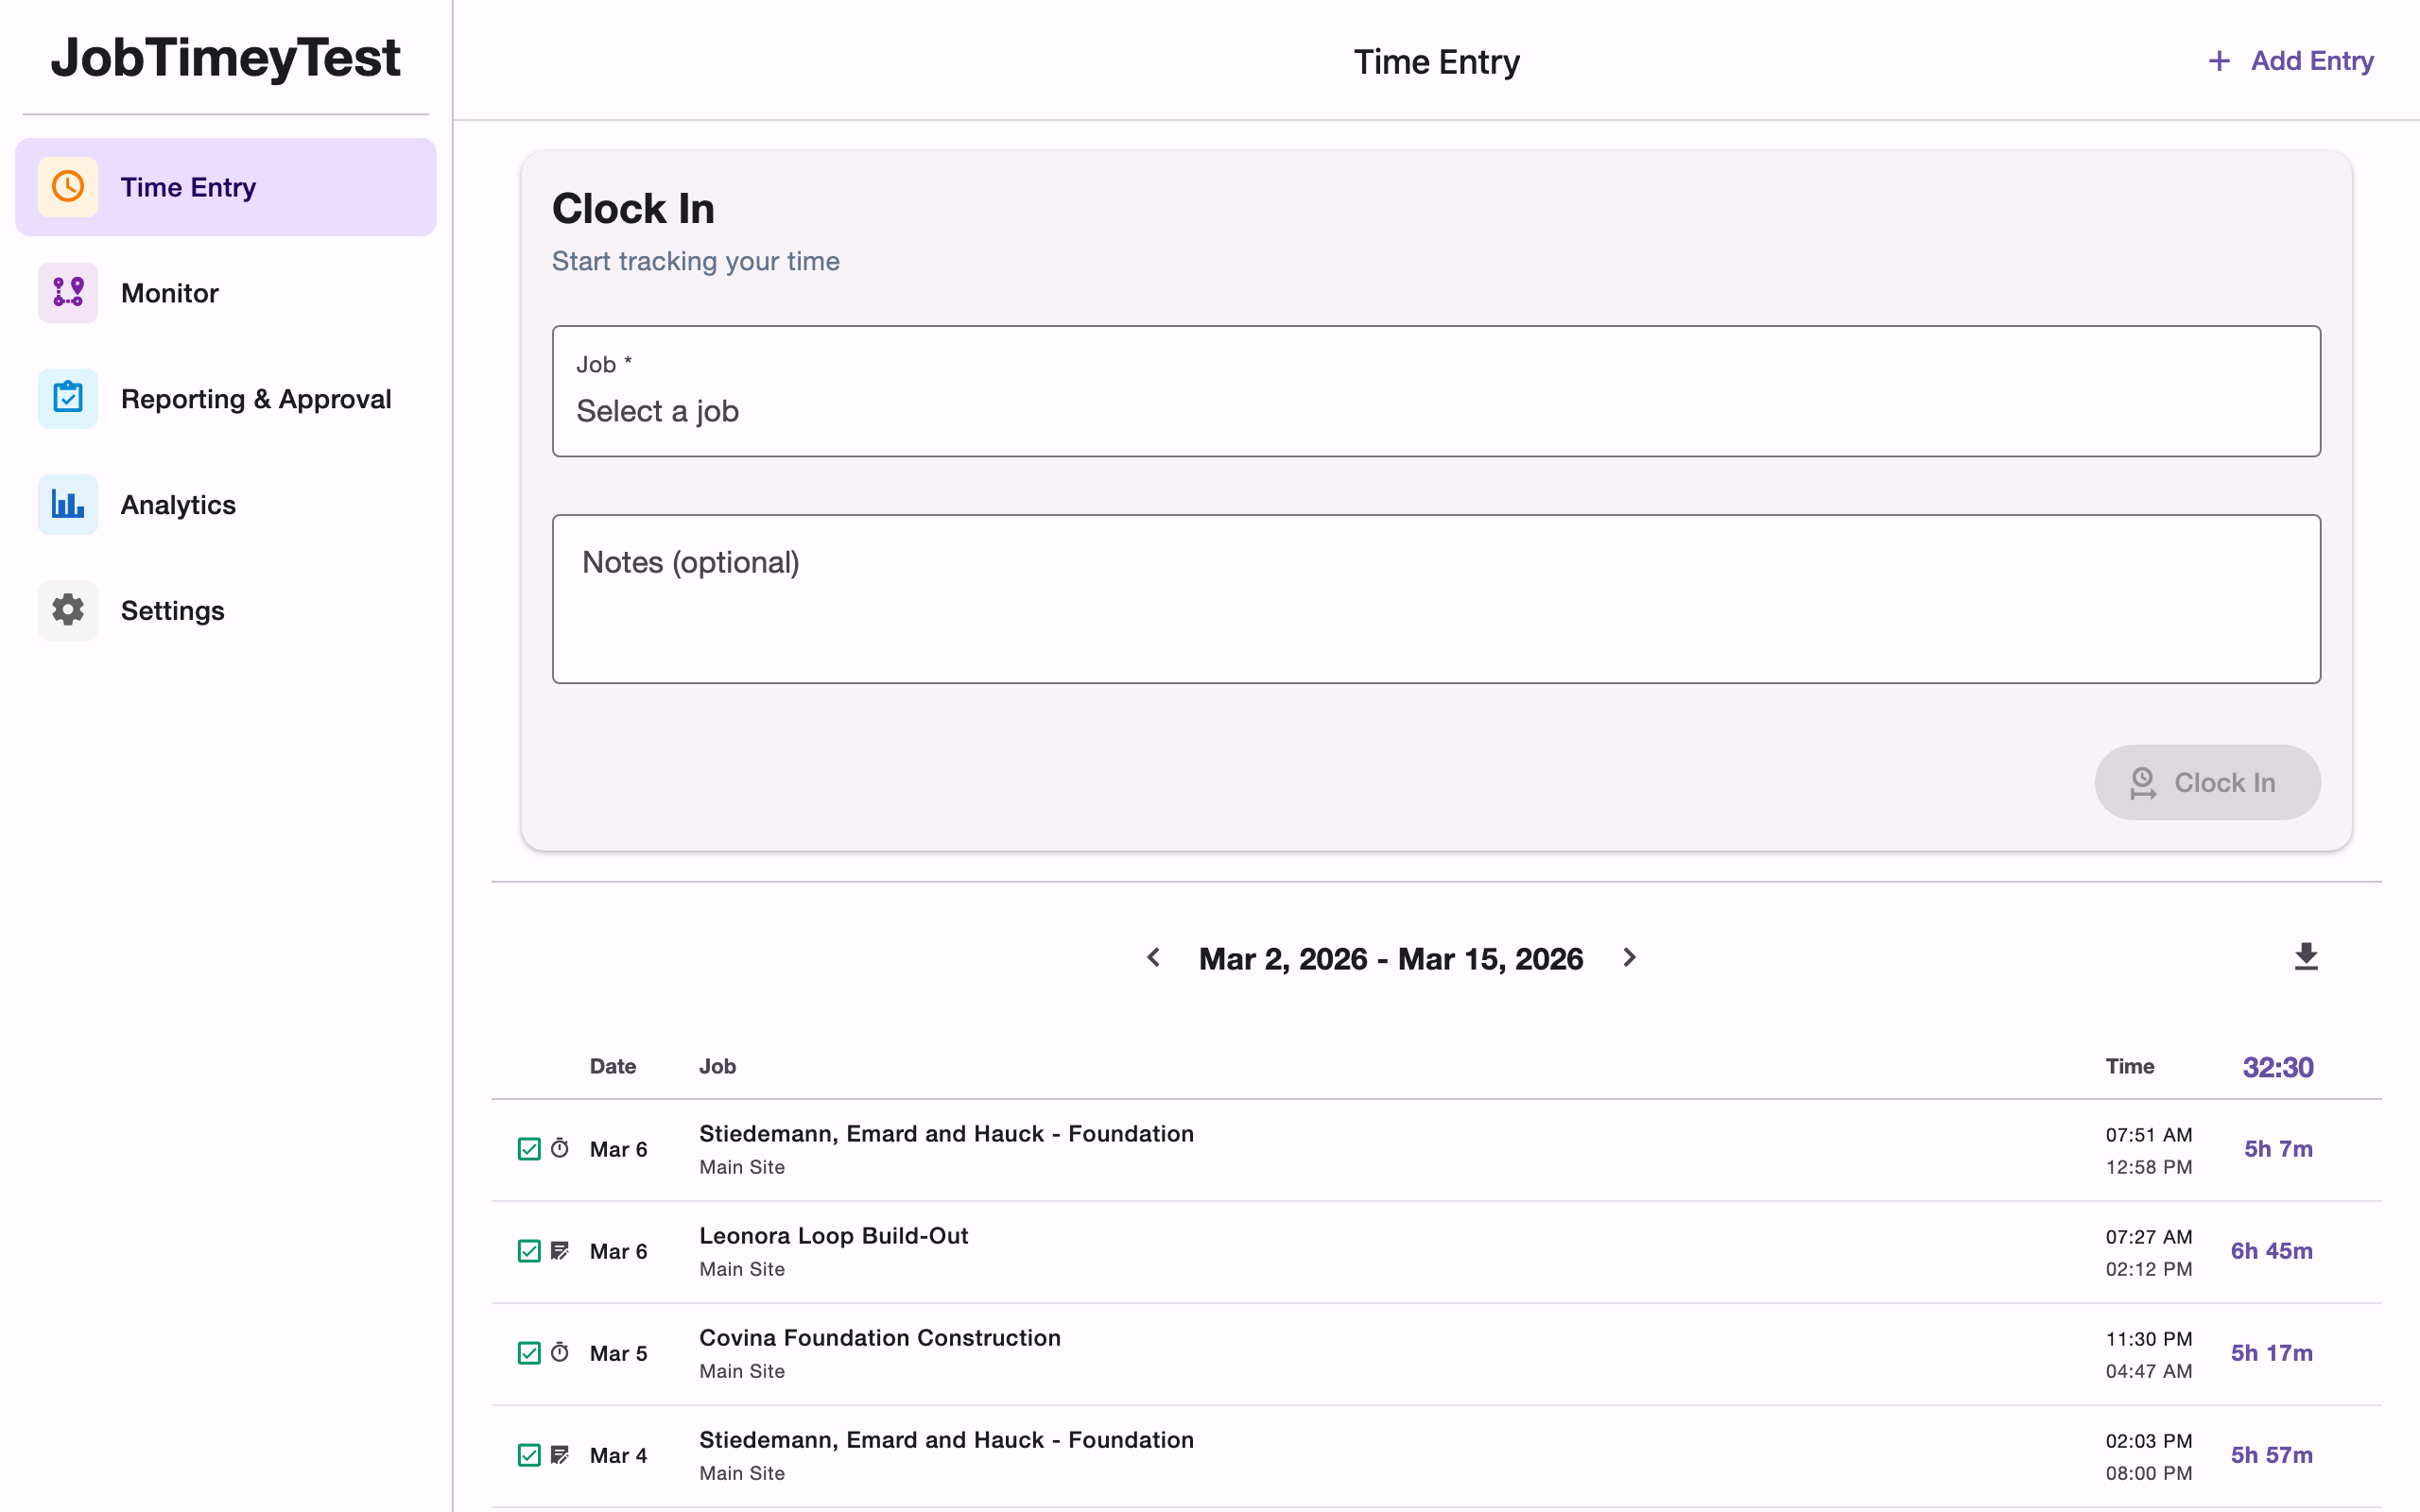
The Entry page is where workforce members track their time. You can clock in and out with a timer, add manual entries for past work, and view your timesheet for any pay period.
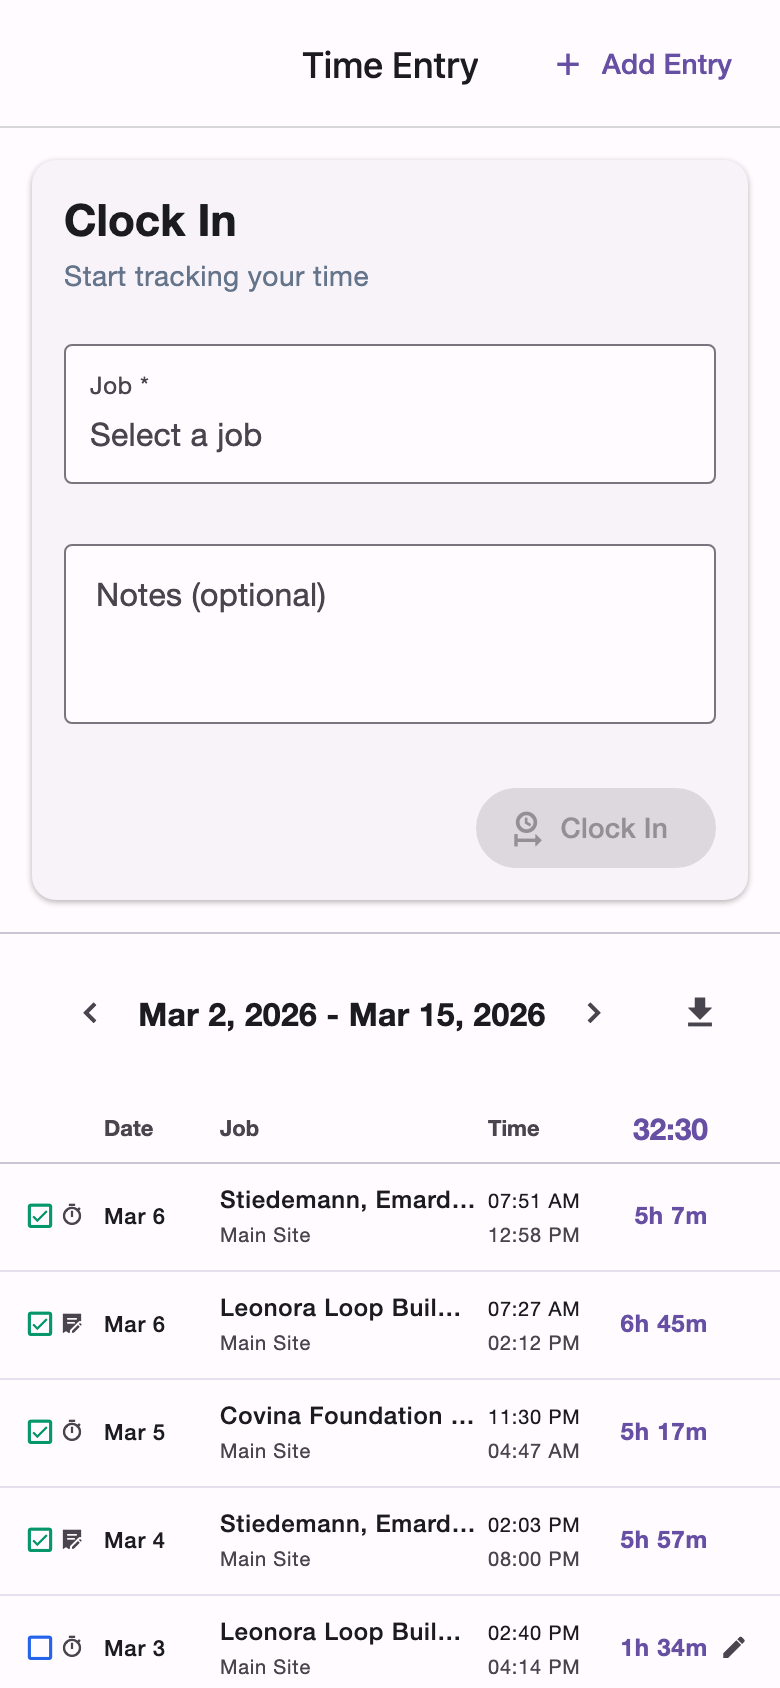
Clock In
When no timer is running, the clock-in form is displayed at the top of the page:
- Select the job you’re working on
- Optionally choose a location and add notes
- Tap Clock In
Your active timer appears at the top of the screen showing elapsed time, the job name, and a Clock Out button.
Clock Out
Tap Clock Out on the active timer to end your session. The entry moves to Pending status and appears in your timesheet below, awaiting approval from an admin or clerical user.
Automatic Geofence Tracking
If your organization has locations with geofence coordinates set up, JobTimey can clock you in and out automatically based on your physical location.
How It Works
When you arrive at a job site, the app detects that you’ve entered the geofence radius and starts a time entry for that location. When you leave, it clocks you out and submits the entry for review. No tapping required.
Geofence entries appear in your timesheet with a location pin icon so you can distinguish them from manual or timer-based entries.
Requirements
Automatic tracking requires:
- Location permissions granted to JobTimey on your device
- Active jobs with at least one location that has geofence coordinates and a radius configured
- Geofence tracking enabled on your account (admins can configure this per member in team settings)
Working Hours
When your organization has working hours enabled, location tracking automatically pauses outside of scheduled hours. This saves battery and prevents off-hours triggers.
Manual Time Entry
Need to log time after the fact? Tap Add Entry in the header to open the manual entry form. You can specify:
- Job and location
- Date
- Clock-in and clock-out times
- Break duration
- Notes
Manual entries are created with Pending status, just like timer-based entries.
Editing Entries
You can edit entries that have a Pending or Rejected status by tapping the edit icon on the entry row. Once an entry is Approved, it can only be modified by an admin.
If an admin has edited one of your entries, a history icon appears instead, letting you view the audit trail of changes.
Entry Types
Each entry has a type indicating how it was created:
- Timer - started and stopped manually using the clock-in button
- Manual - added after the fact with specific times
- Geofence - created automatically when you enter or leave a job location
- Travel - logged automatically for travel time between jobs
Entry Statuses
- Active - a timer is currently running
- Pending - submitted and awaiting review
- Approved - reviewed and approved by an admin or clerical user
- Rejected - returned for correction, with a reason from the reviewer
Rejected entries can be edited and resubmitted.
Period Navigation
Your timesheet is organized by pay period. Use the navigation arrows to move between periods, or tap the center button to jump back to the current period. The total hours for the selected period are displayed in the column header.
CSV Export
Tap the download button to export your time entries for the current period as a CSV file. This is useful for keeping personal records or submitting to external payroll systems.
Offline Support
JobTimey works offline. You can clock in and out without an internet connection, and your entries will sync automatically when connectivity is restored. While offline, some features like period navigation and CSV export are temporarily unavailable.