Managing Your Team
Invite members, assign roles, and configure team settings.

The Settings > Team page is where you manage your organization’s members. Admins can invite new people, assign roles, and configure per-member settings like location tracking and working hours.

Roles
Every team member has a role that determines what they can access:
- Admin - full access to all settings, team management, reporting, and job configuration. Admins can invite and remove members, change roles, and manage billing.
- Clerical - access to reporting, job management, customer management, and most settings. Cannot invite members or change roles.
- Workforce - can clock in and out, view their own time entries, and access personal settings. Cannot view reporting or manage jobs.
A user can belong to multiple organizations and have a different role in each.
Inviting Members
Only admins can invite new team members:
- Go to Settings > Team
- Tap Invite Member
- Enter the person’s full name and email address
- Choose their role (defaults to Clerical)
- Tap Send Invitation
The invitee receives an email with a link to join your organization. Invitations expire after 7 days. If an invitation expires, you can send a new one.
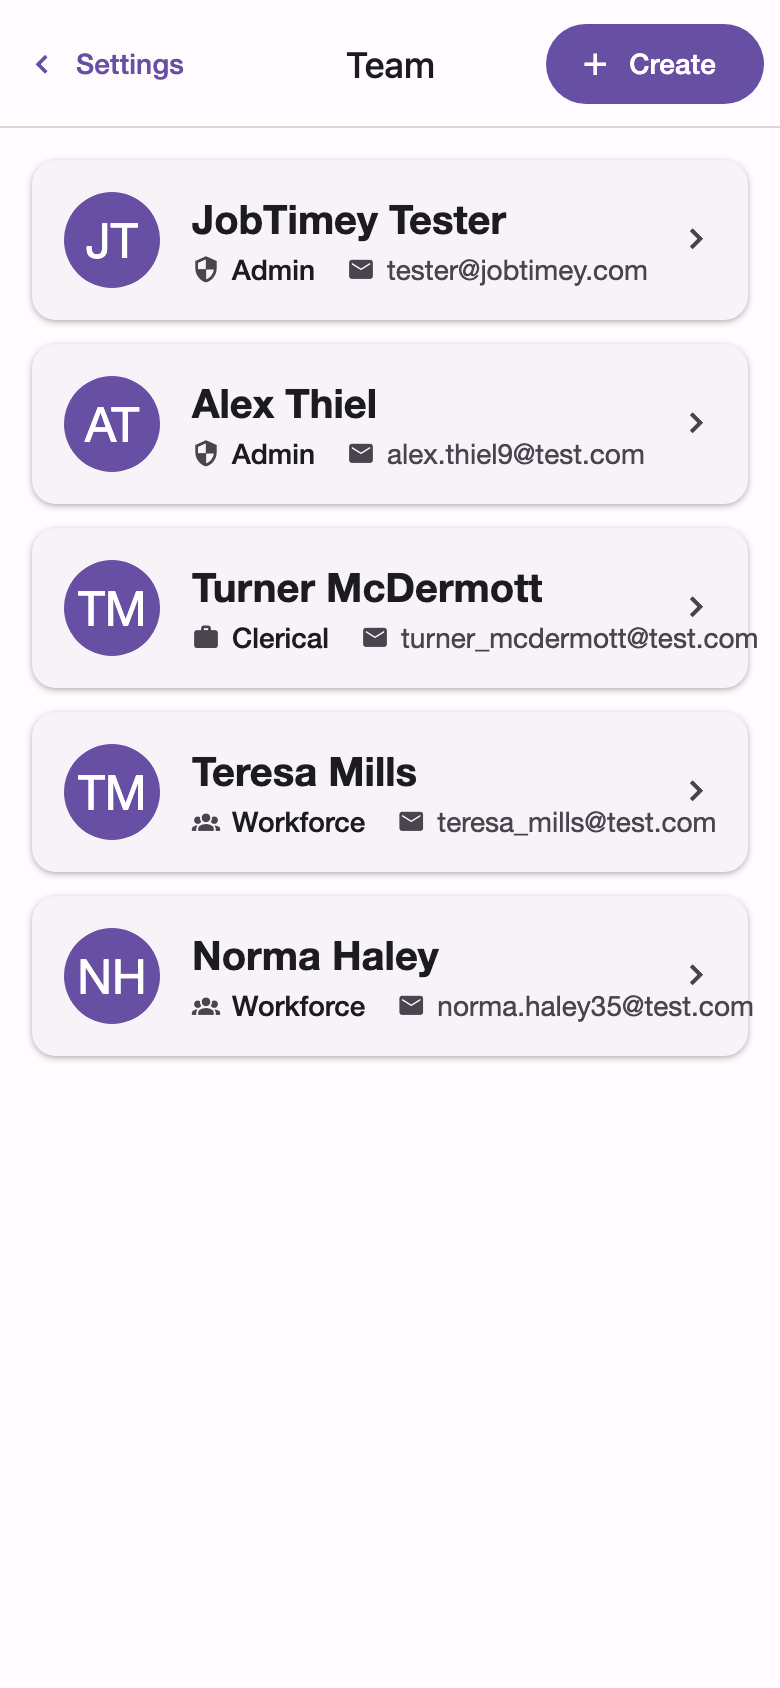
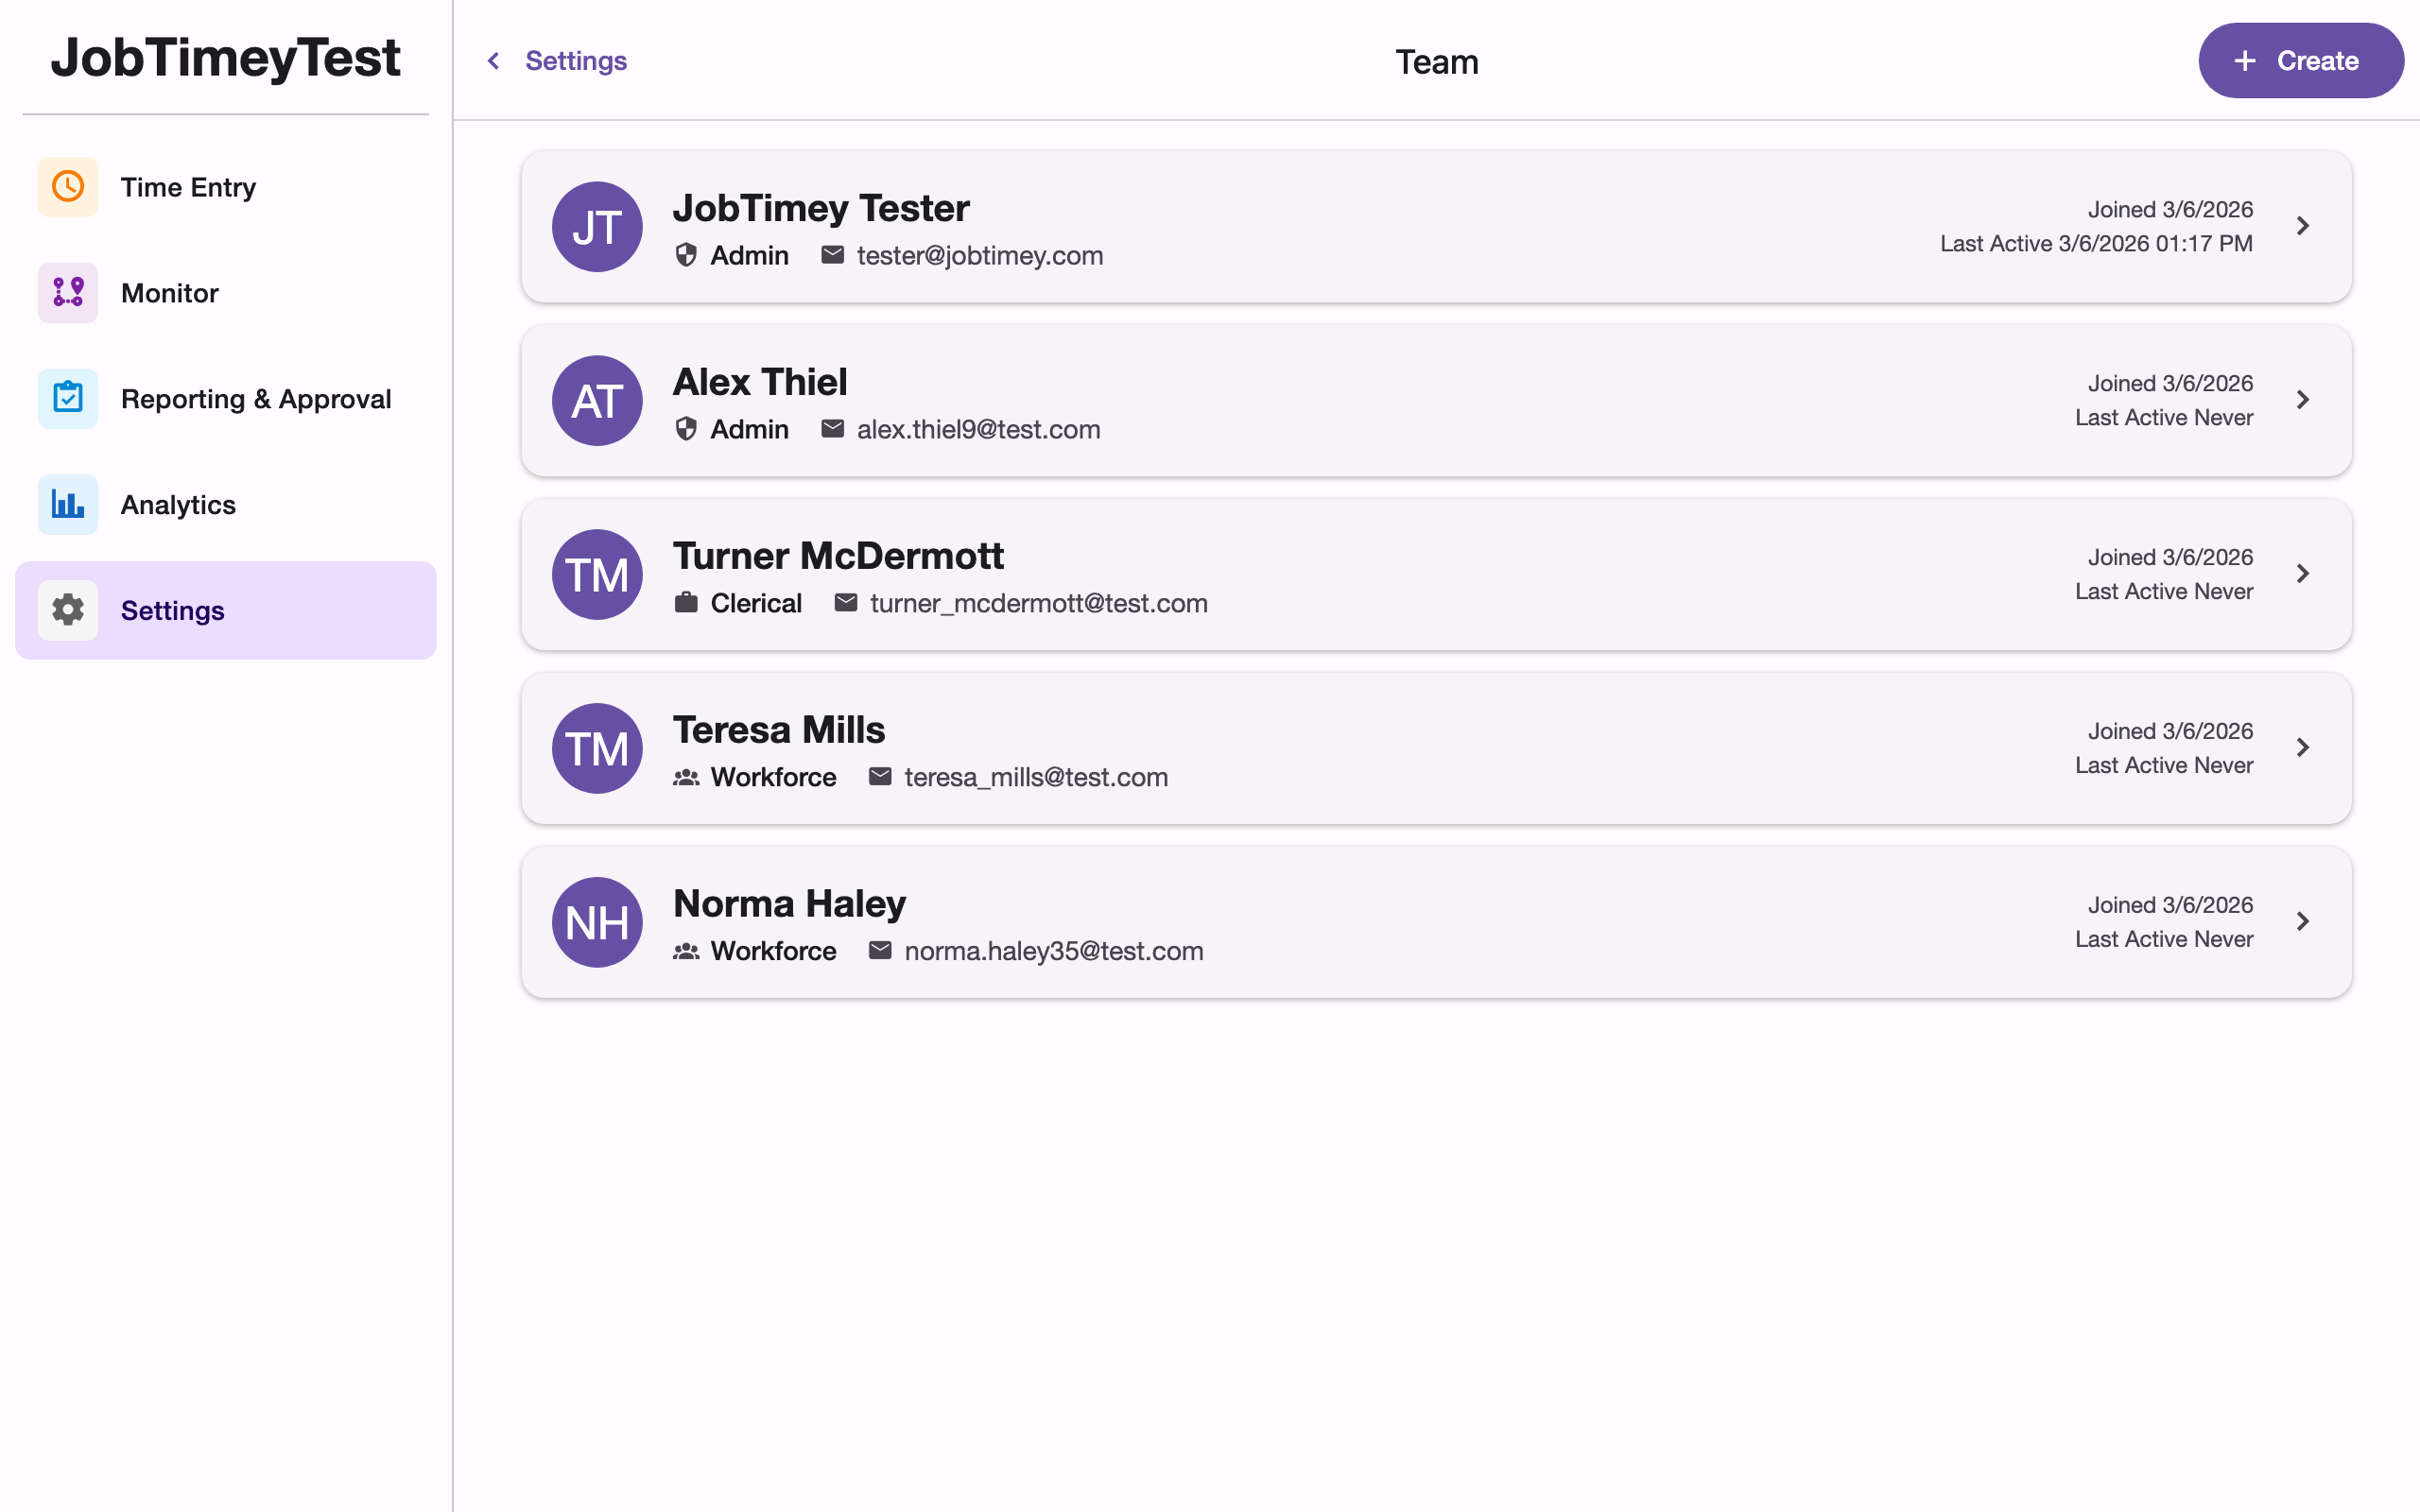
Viewing Your Team
The team list shows each member’s name, email, avatar, role, identifying color, join date, and last activity. Tap any member to view or edit their details.
Editing Member Details
From a member’s detail page, you can update:
- Email and display name
- Role (admin only) - change between Admin, Clerical, and Workforce
- Identifying color - choose from 14 preset colors used to distinguish members in reports and the team list. If no color is set, one is assigned automatically.
Location Tracking Settings
For each team member, you can configure location tracking on their detail page:
- Enable location tracking - turn GPS-based automatic time entries on or off for this member
- Custom working hours - when location tracking is enabled, you can override the organization-wide working hours with a per-member schedule:
- Work start time and work end time
- Working days - select which days of the week are active
Location tracking automatically pauses outside of working hours. Custom working hours are useful when team members have different shifts or schedules.
Account Management
Admins have access to additional account actions on each member’s detail page:
- Send Password Reset - sends the member an email to reset their password. Useful when someone is locked out of their account.
- Reactivate Account - if a member has deactivated their account, this restores their access so they can sign in again. This option only appears for inactive accounts.
Inactive accounts are flagged with a warning on the member’s detail page.