Setting Up Jobs and Locations
Create customers, jobs, and geofence locations for your team.

Jobs are the core of time tracking in JobTimey. Every time entry is associated with a job. Before creating jobs, you’ll want to set up your customers first, since jobs are assigned to them.
Creating Customers
Customers represent the clients or companies your team works for.
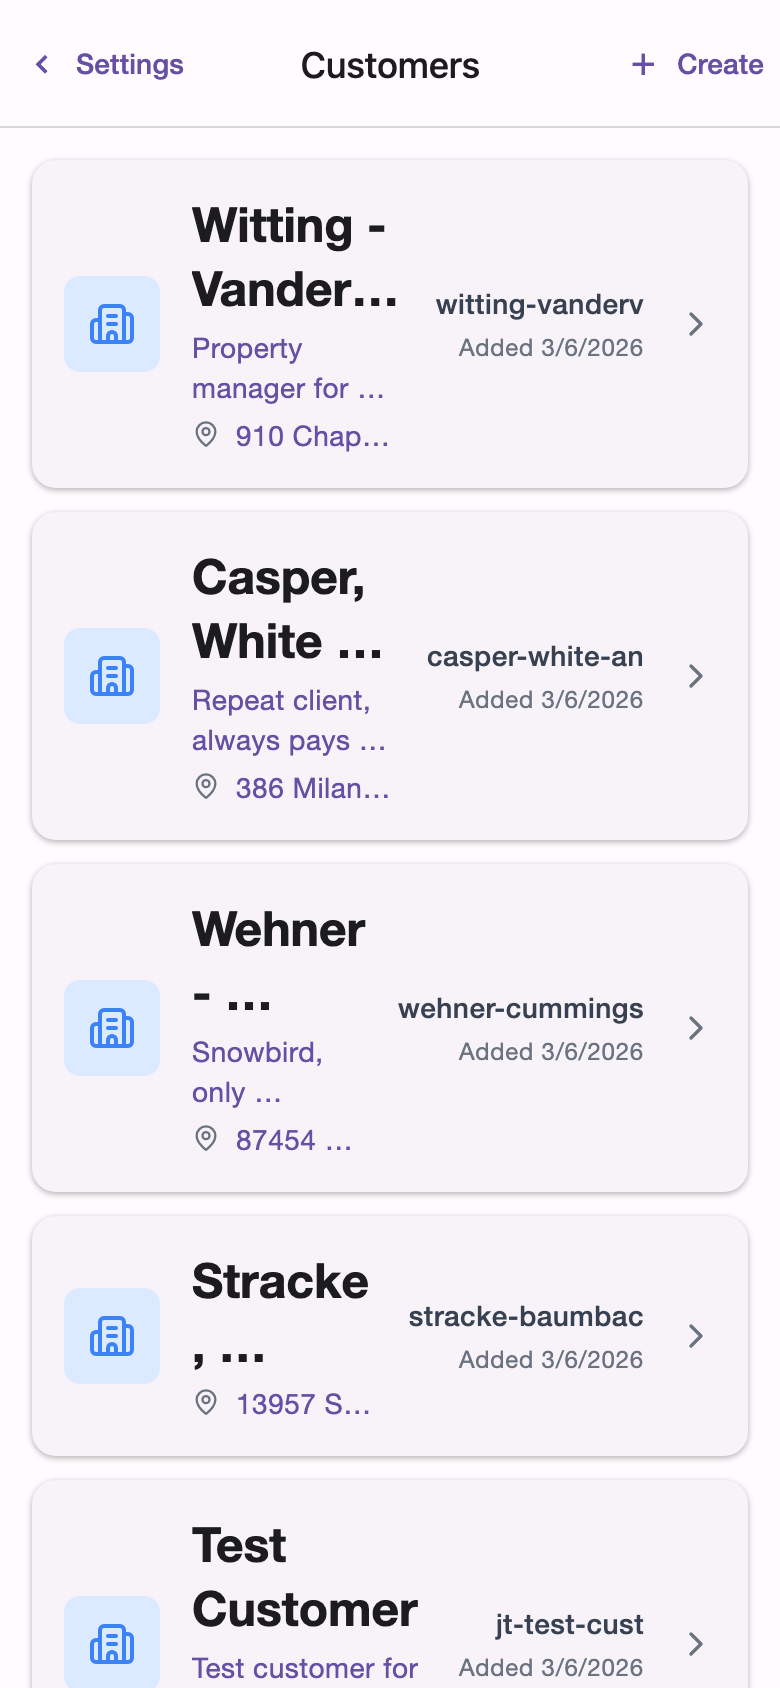
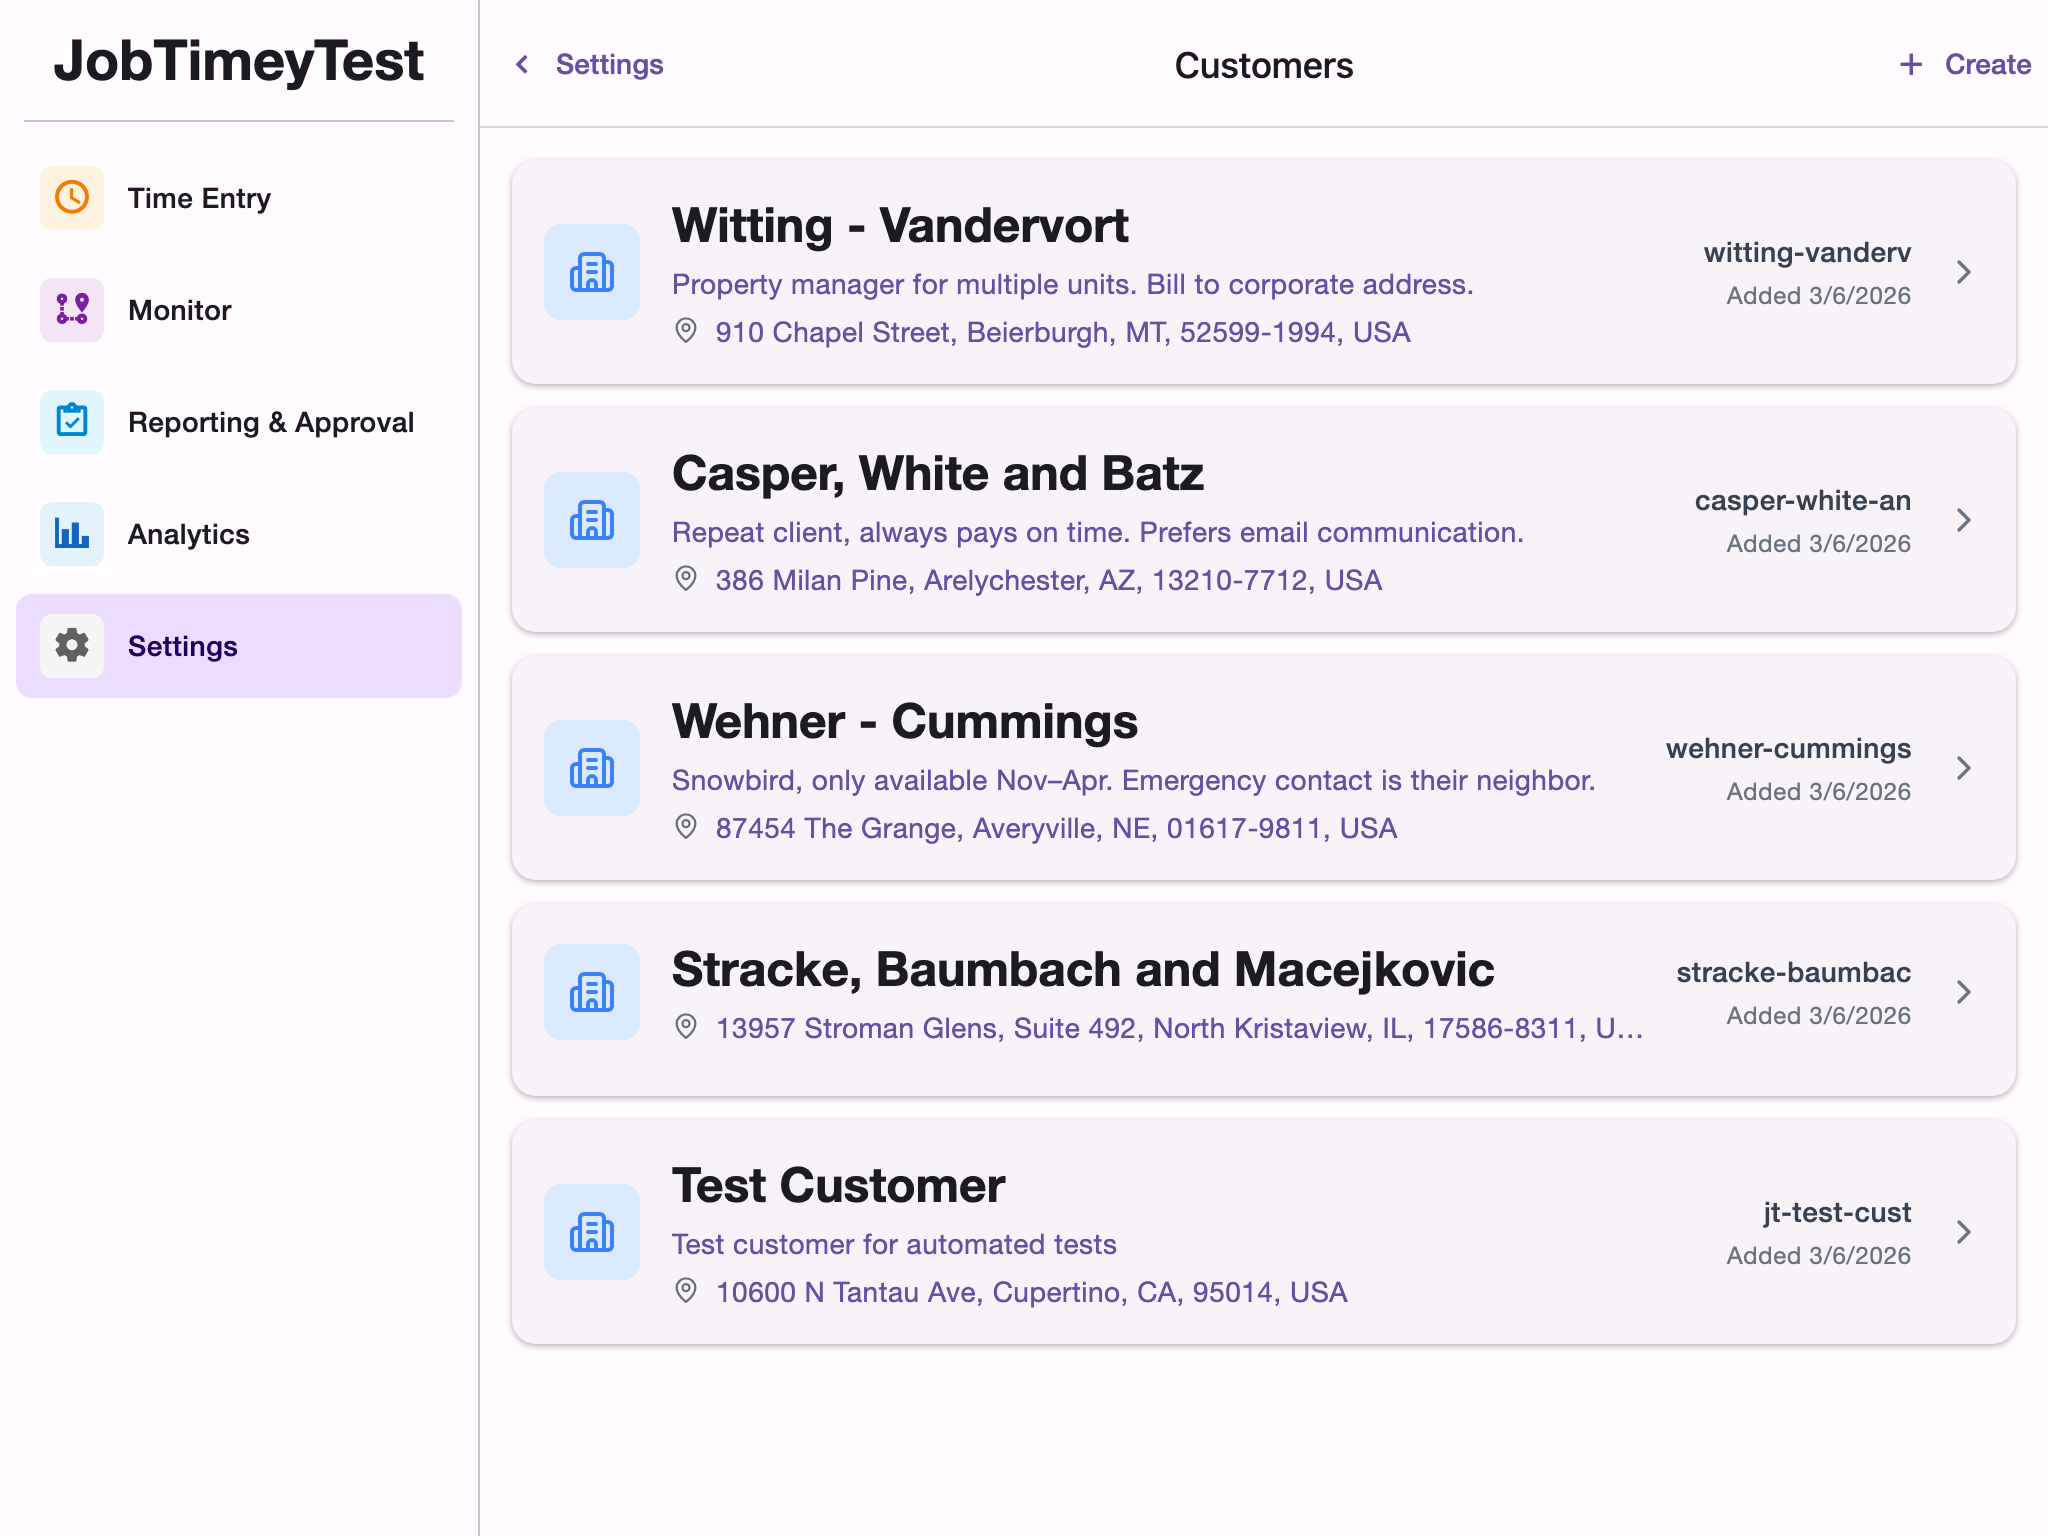
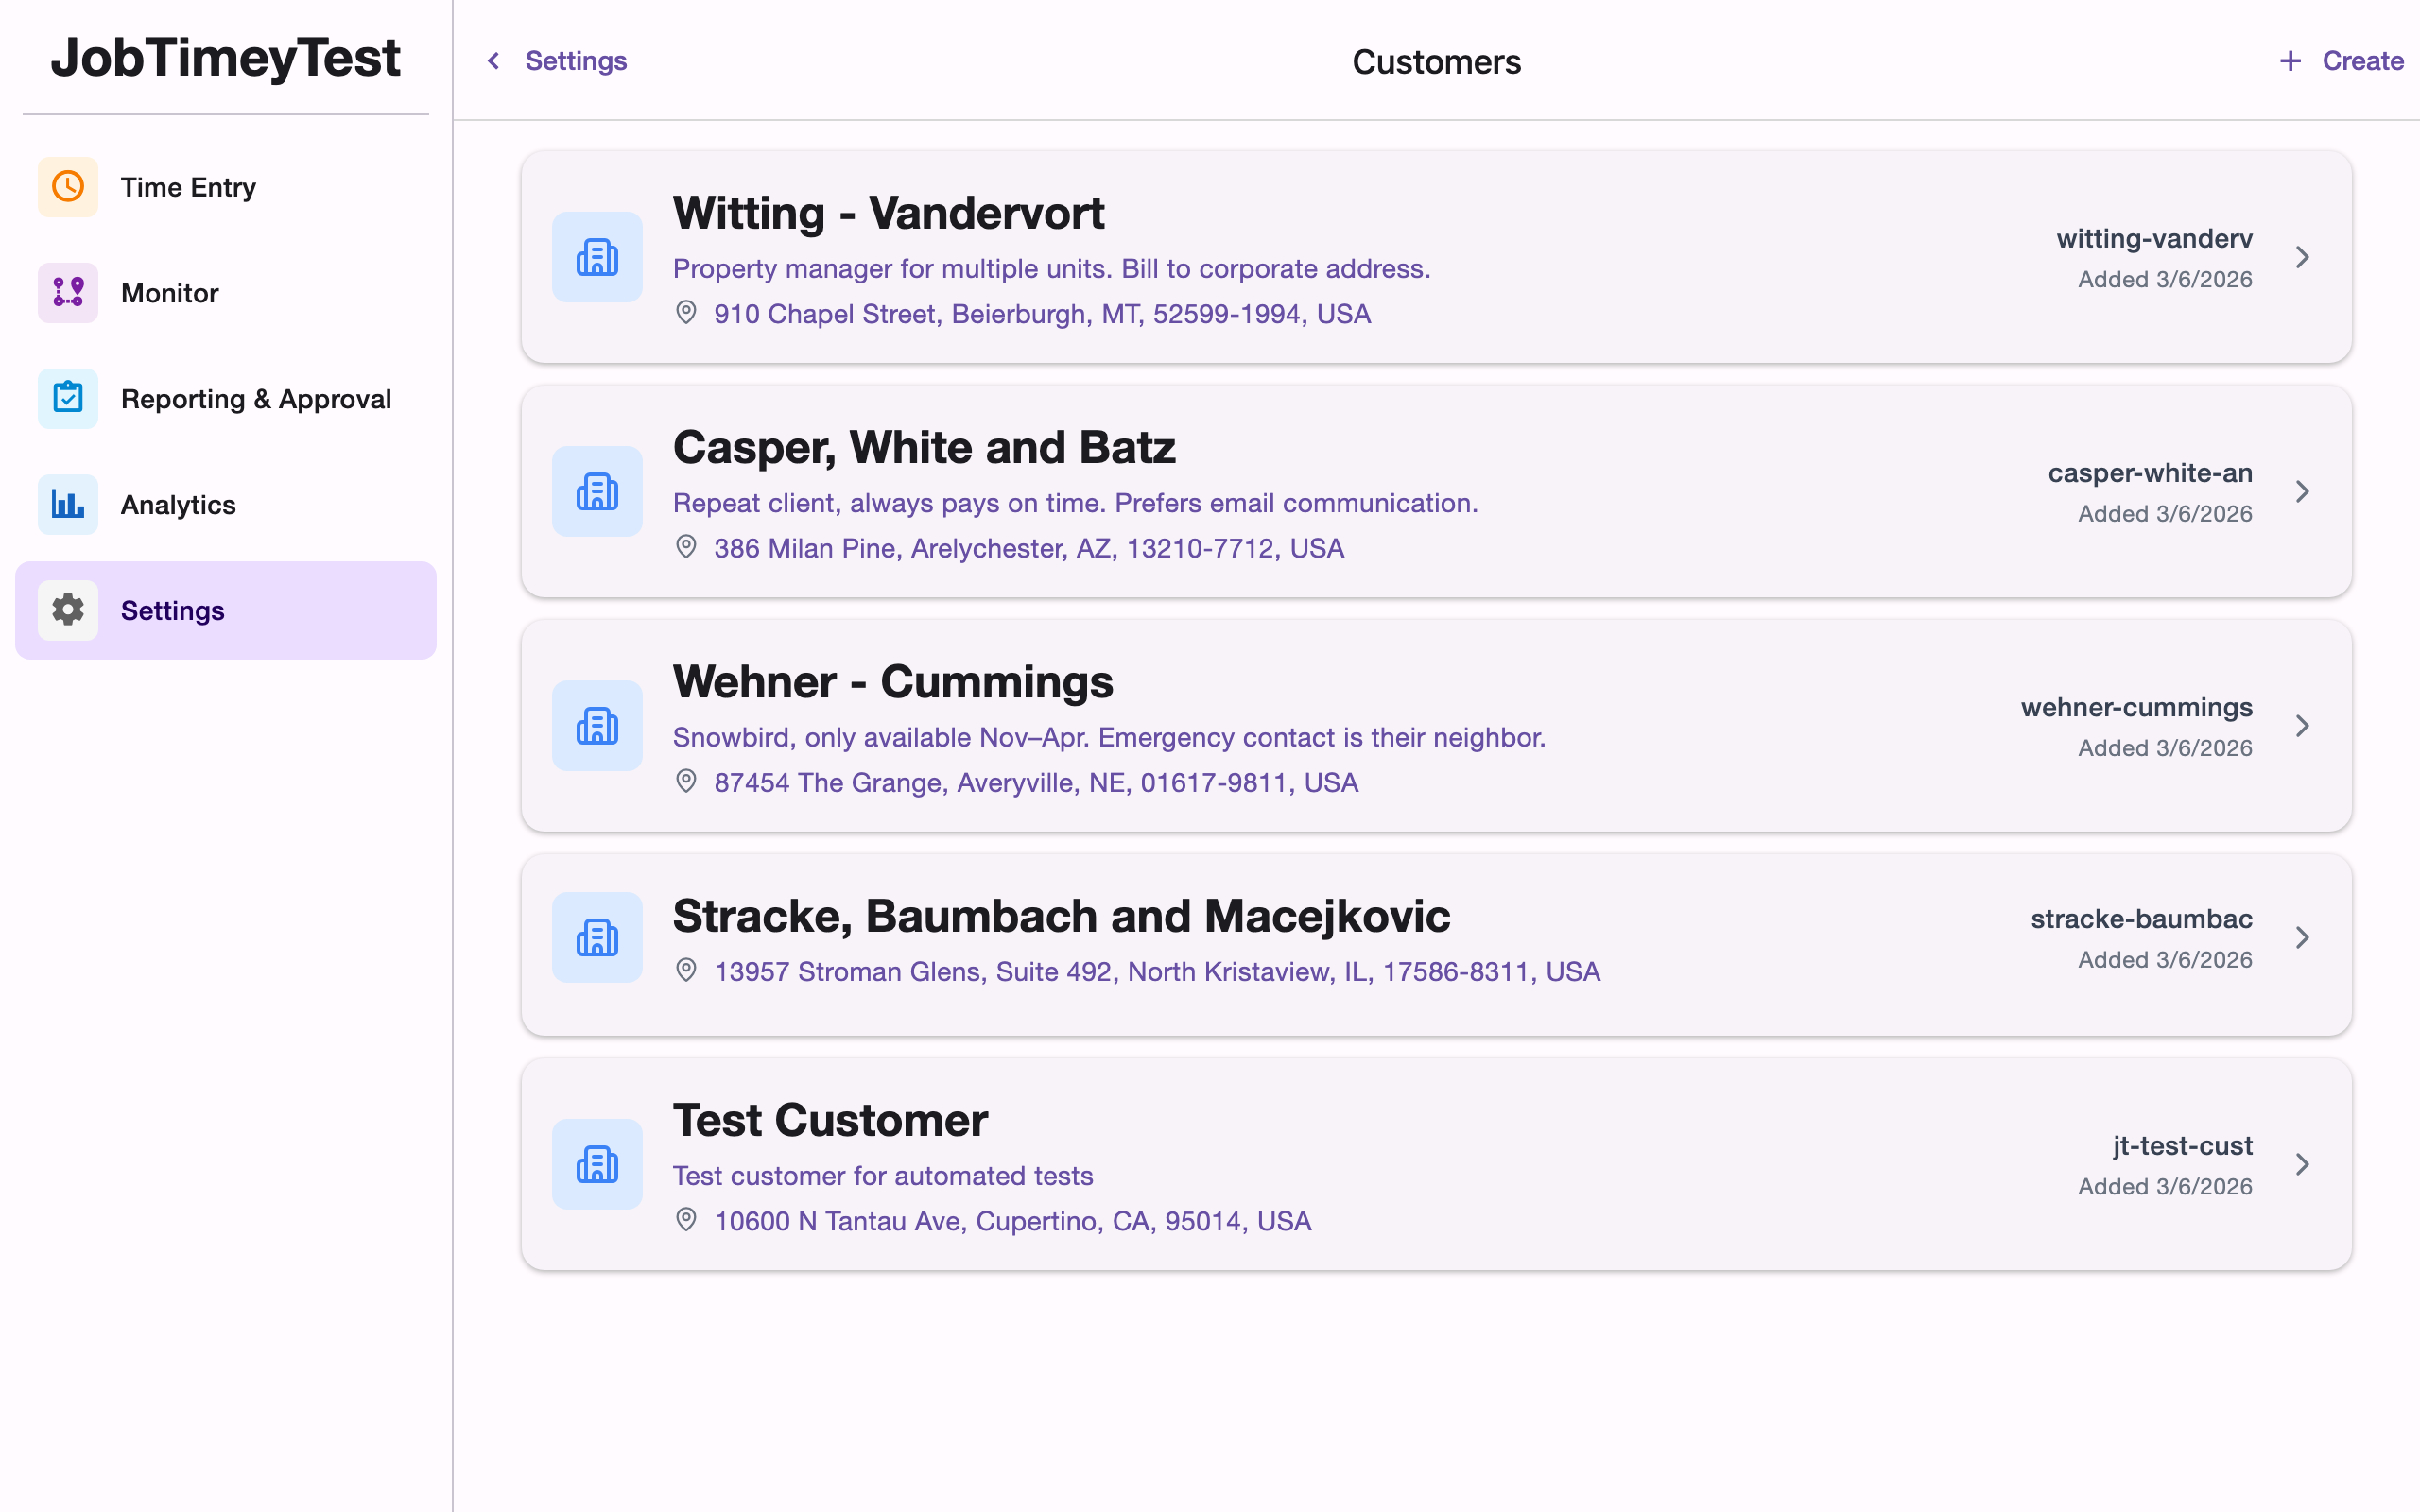
- Go to Settings > Customers
- Tap Add Customer
- Fill in the details:
- Customer Name - the client’s display name
- Identifier - a short, URL-friendly ID (lowercase letters, numbers, and hyphens)
- Notes - optional internal notes
- Address - optional mailing or office address
- Tap Save
You can also create customers on the fly while creating a new job.
Creating Jobs
Jobs represent individual work sites, projects, or assignments.
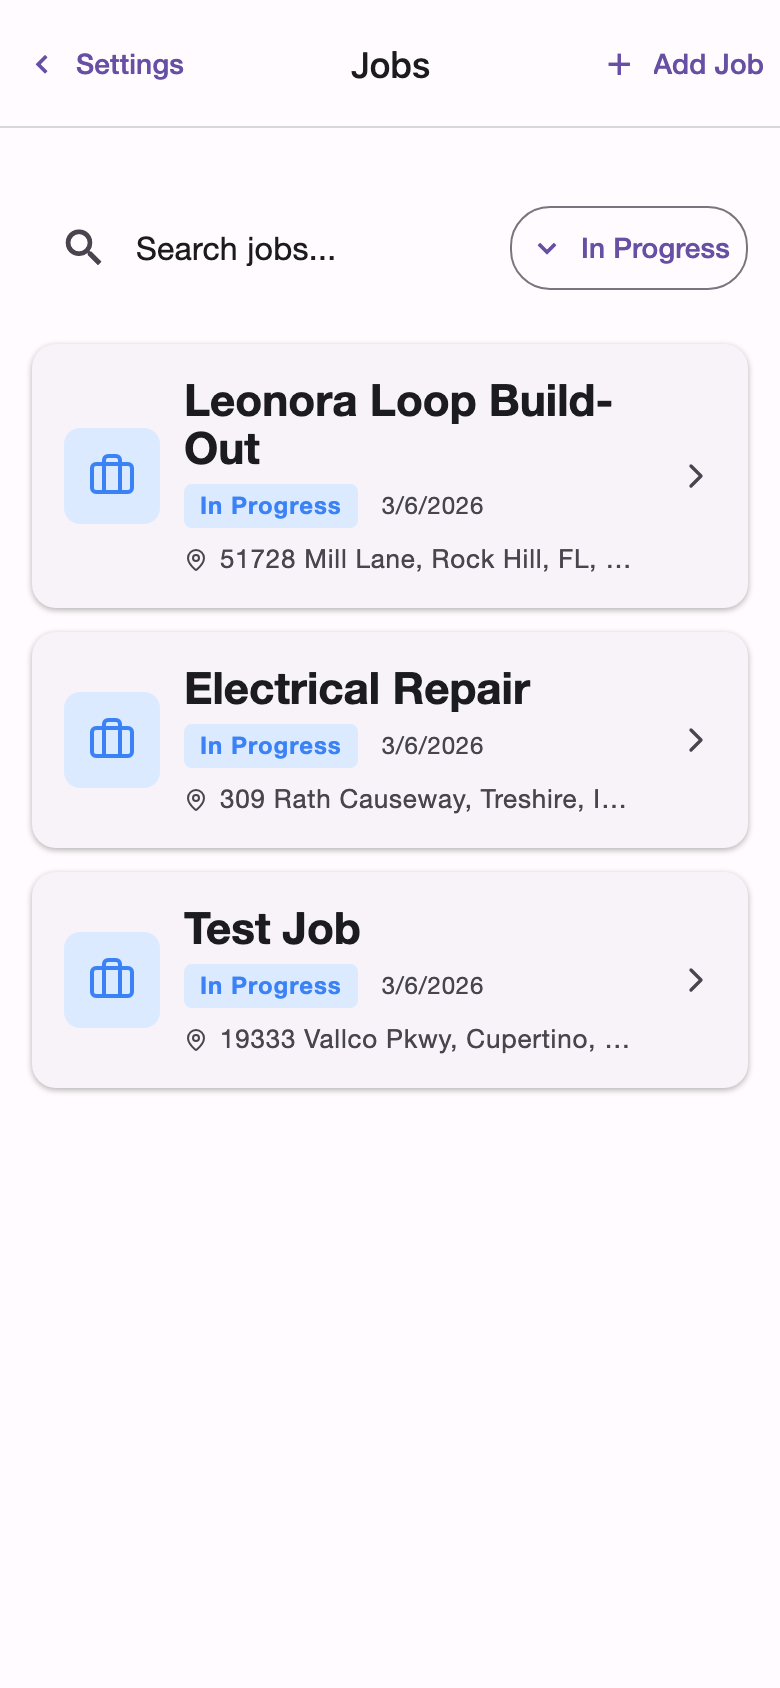
- Go to Settings > Jobs
- Tap Add Job (or the + button)
- Fill in the job details:
- Job Identifier - a unique code for the job (minimum 3 characters)
- Job Name - the display name your team will see when clocking in
- Status - Pending, Active, Completed, or Canceled
- Customer - the client this job belongs to
- Tags - optional labels for organizing and filtering jobs
- Address - the job site address
- Start Date and Completion Date - optional date range
- Notes - optional internal notes
- Tap Save
If you provide an address, a location with geofence coordinates is automatically created from it.
Job Statuses
- Pending - job is set up but work hasn’t started
- Active - job is in progress and available for time tracking
- Completed - work is finished
- Canceled - job was called off
Only Active and Pending jobs appear in the clock-in job selector.
Adding Locations
Locations define the physical work areas for a job. Each location has a geofence - a geographic boundary that can automatically trigger clock-in and clock-out events when team members enter or leave the area.
- Open a job’s detail page
- Tap Add Location in the locations section
- Fill in:
- Location Name - a descriptive name (e.g., “Main Building”, “Parking Lot B”)
- Description - optional details about this area
- Coordinates - the latitude and longitude of the center point
- Radius - the geofence radius in meters
- Tap Save
A single job can have multiple locations. For example, a large construction site might have separate geofences for different work zones.
Managing Locations
From the job detail page, you can view all associated locations. Tap a location to edit its details or mark it as inactive if work in that area is complete but you want to keep the record.
Organizing with Tags
Tags help you categorize and filter jobs. Common uses include project type, department, or priority level. You can assign multiple tags to a single job and use them to quickly find relevant jobs in the list.
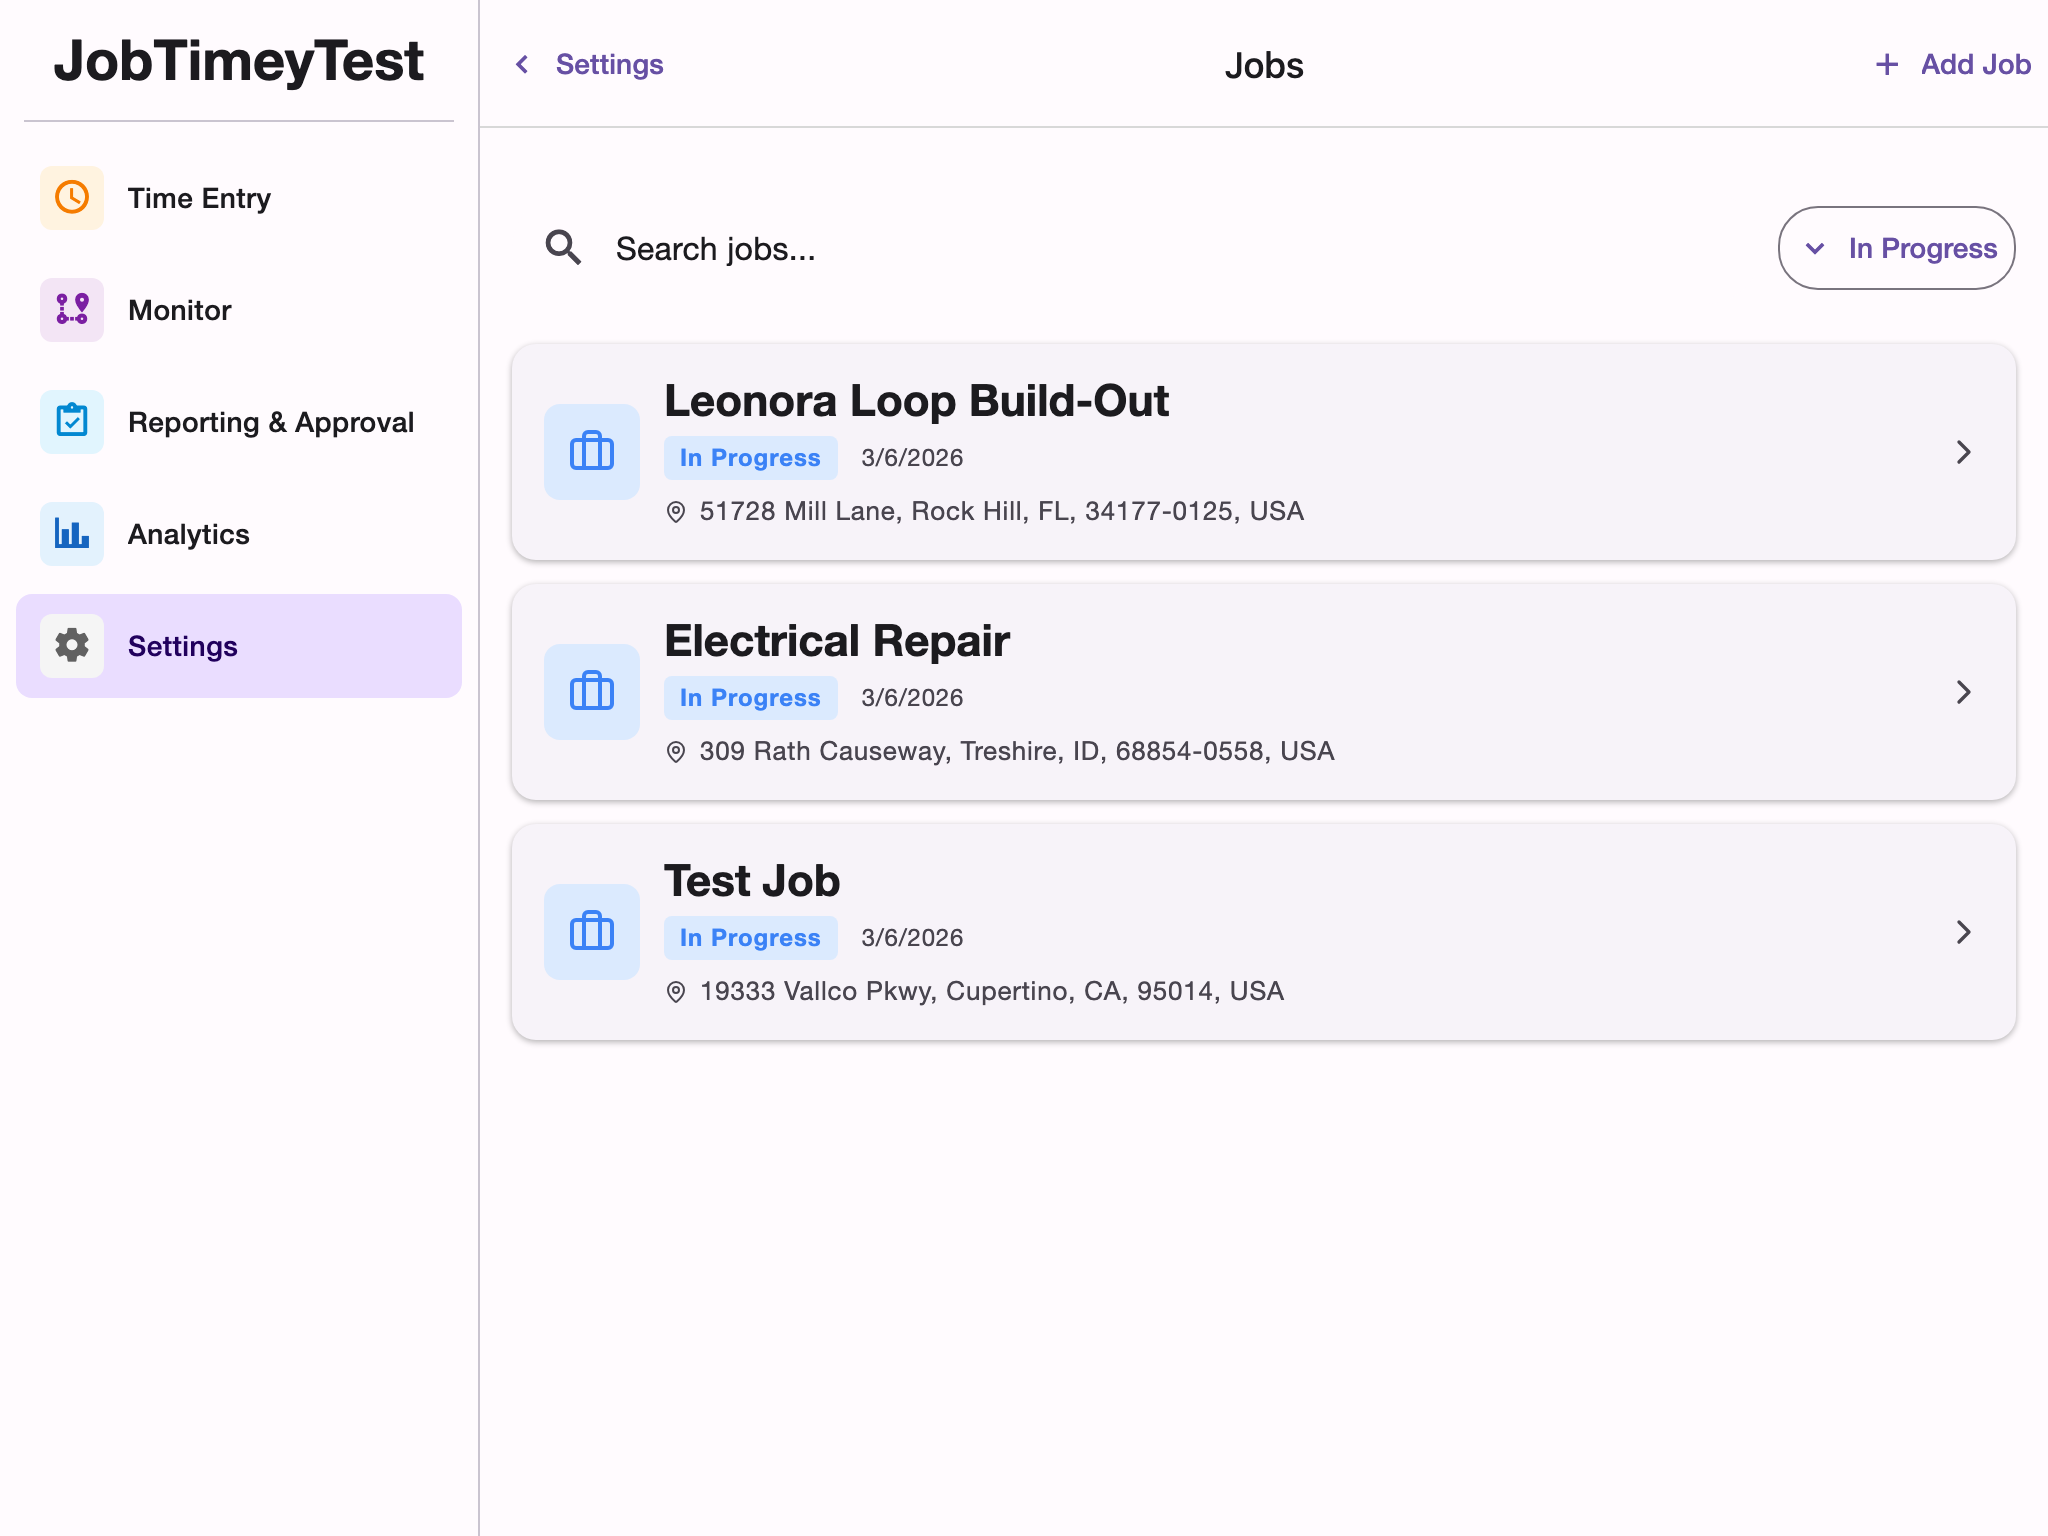
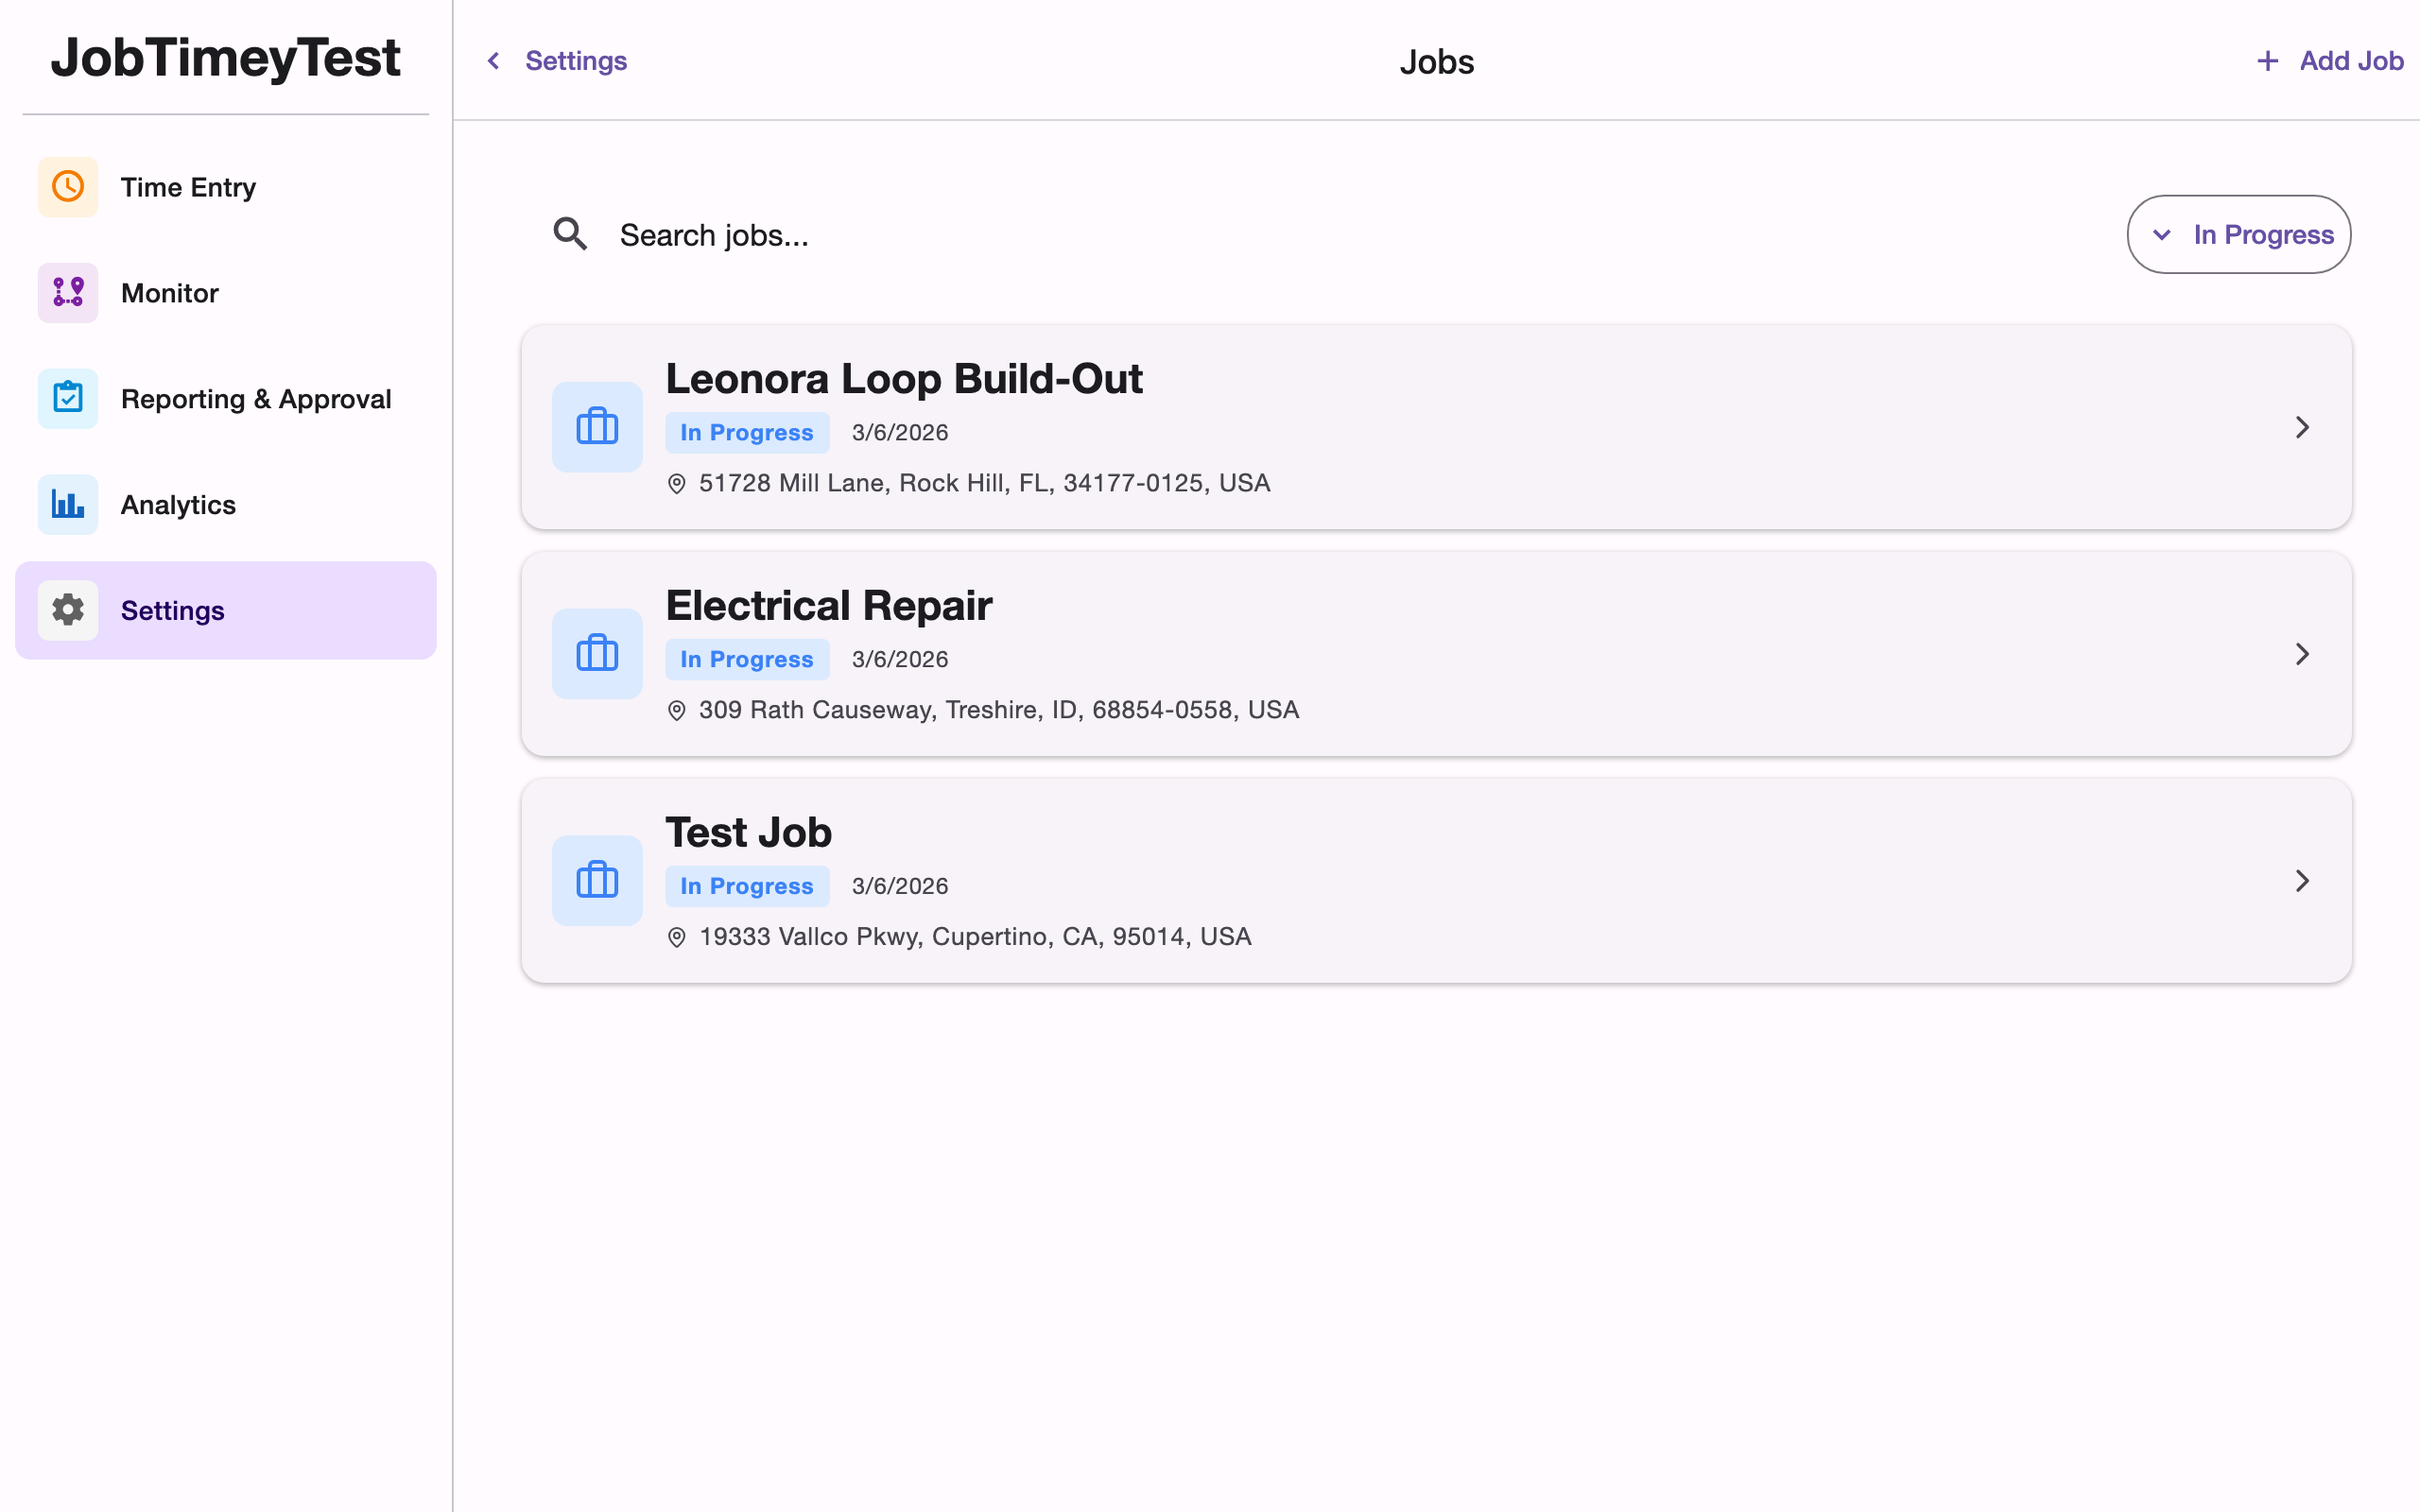
Searching and Filtering Jobs
The jobs list supports searching by job name or identifier, and filtering by status. Use these tools to quickly find specific jobs as your list grows.