Getting Started
Get up and running with JobTimey in minutes.

Welcome to JobTimey! This guide walks you through setting up your account and getting your team tracking time in the field.
Create Your Organization
- Visit jobtimey.com and click Get Started Free
- Fill in your details:
- Full Name and Email Address
- Organization Name - your company or team name
- Organization Slug - a short URL-friendly identifier (e.g.,
acme-construction). This becomes part of your organization’s URL. - Password - must be at least 8 characters
- Click Create Account and you’ll be taken straight to your new organization’s dashboard
You’re automatically signed in as an Admin with full access. From here you can configure pay periods, working hours, and other preferences in Settings > Organization. See Organization Settings for details.
Invite Your Team
Navigate to Settings > Team to start building your crew:
- Click Invite Member
- Enter their name and email address
- Choose a role:
- Admin - full access to settings, reports, and team management
- Clerical - access to reports, job management, and most settings
- Workforce - can clock in/out and view their own entries
Team members receive an email invitation with a link to join. Invitations expire after 7 days. See Managing Your Team for more on roles and member settings.
Create Customers and Jobs
Before your crew can start tracking time, set up your job structure:
- Go to Settings > Customers and add your clients
- Go to Settings > Jobs to create job sites
- Assign each job to a customer and optionally add locations with geofence coordinates
Jobs can be tagged for easy filtering and organized by status. See Setting Up Jobs and Locations for the full walkthrough.
Start Tracking Time
Your workforce members can now:
- Open the app and tap Clock In
- Select the job they’re working on
- Optionally add notes or a location
- Tap Clock Out when they’re done
Entries appear as Pending until an admin or clerical user reviews them on the Reporting page. You can also add manual time entries for past work. See Clocking In and Out for details.
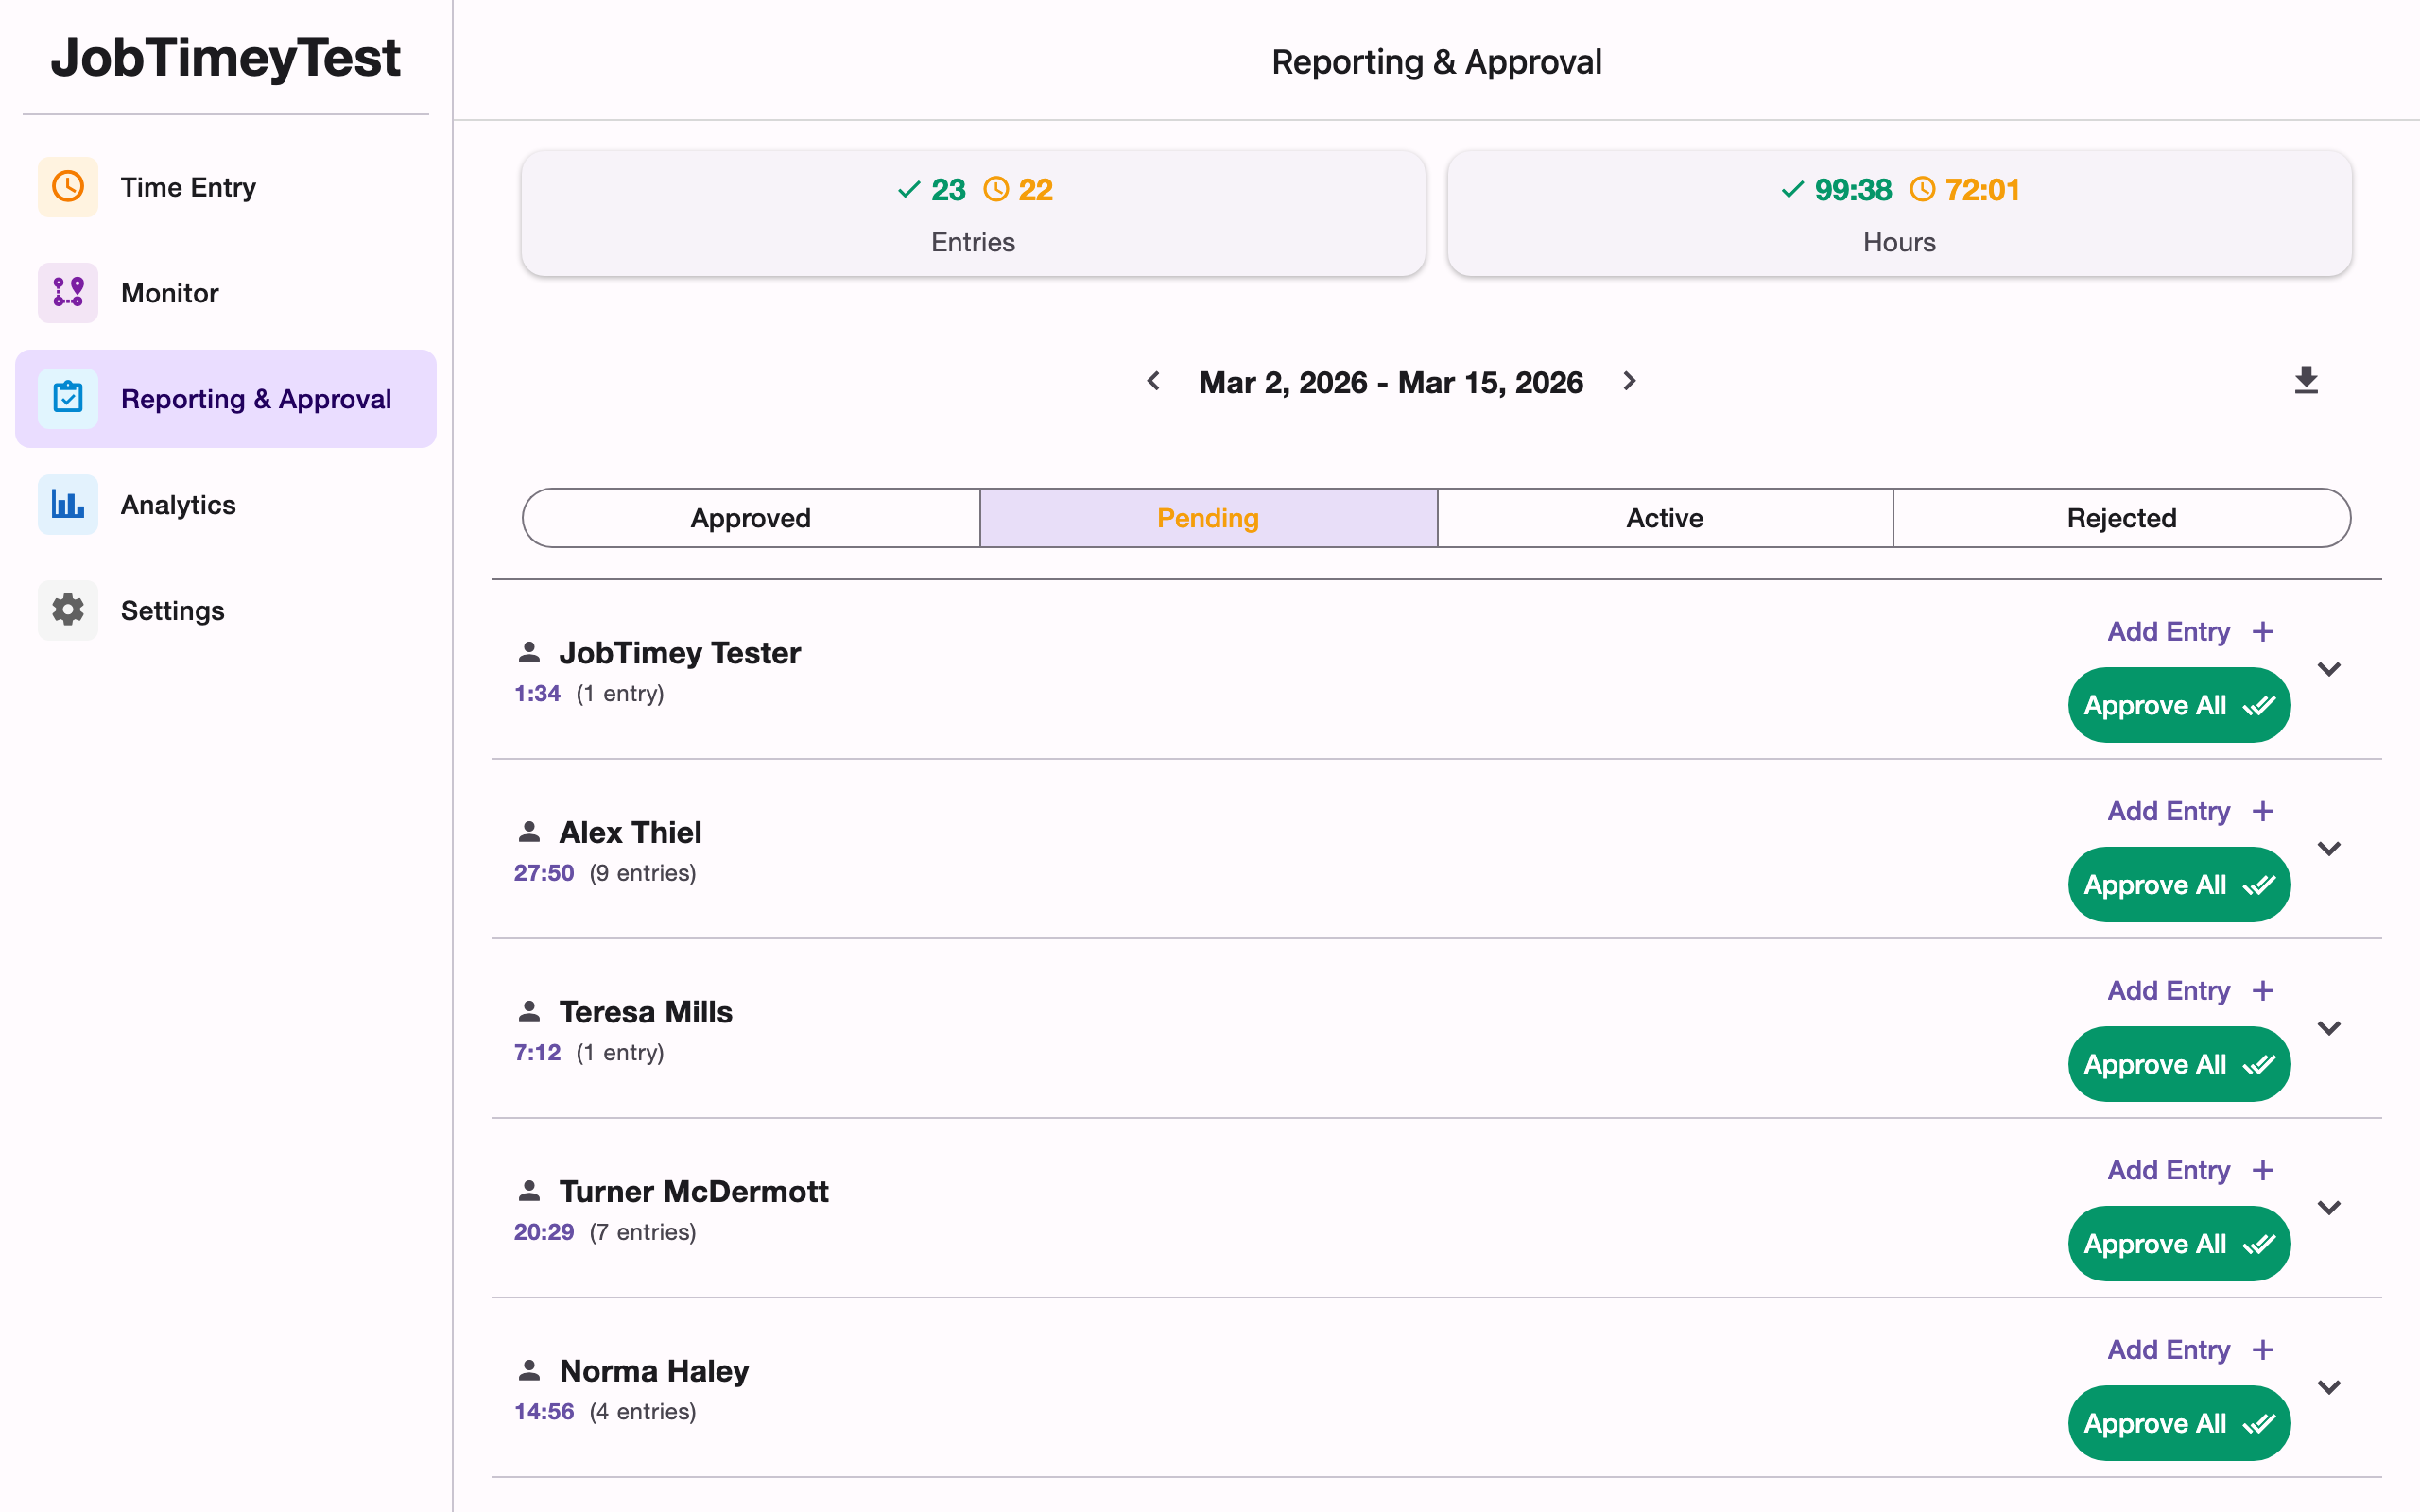
Review and Approve
Admins and clerical users can review submitted time on the Reporting page:
- Filter entries by status (Pending, Approved, Active, Rejected)
- Approve or reject individual entries
- Bulk approve all entries for a team member
- Export approved timesheets to CSV
See Reviewing and Approving Time for the complete guide.
Next Steps
- Clocking In and Out - time tracking features in detail
- Reviewing and Approving Time - manage your team’s timesheets
- Setting Up Jobs and Locations - organize your work sites
- Managing Your Team - roles, invitations, and member settings
- Organization Settings - pay periods, working hours, and more